My minimalistic homeserver: *Arr Media Suite (3/N)
Table of Contents
- Update 2025:08-23: Added
byparr
This post is for educational purposes only.
The applications and software shown in this post are free and open source with a wide variety of features and use cases. How you use these tools is to be dictated by your local laws and personal discretion. This post will not show how to find, obtain, or download non-open source materials.
This is my simple configuration for my media application for Movies and TVShows.
I am able to run 4k at 60fps with ease in multiple devices at the same time from my network with a mini N100 pc.
I do not expose publicly any of these applications, and I connect between my devices locally using Tailscale free tier (see here instructions on how to install Tailscale.)
Remember to replace the home folder your_user_homepath for your own or whatever parent folder you want to use.
Hard earned tips:
It is very easy to f*ck up the routing paths between the different apps. I recommend not to skim the sections.
If using Tailscale: use the Tailscale IP, not the Magic DNS name. Prowlarr/Sonarr/Radarr will detech initially the server but will the have problems connecting.
1. Installation
We will install arr suite via docker compose. I will use hotio docker images, but this also work with linuxserver alternatively.
My setup follows TRaSH folder structure to avoid having duplicating media files and wasting storage. Sonarr and Radarr will "read" the files from qbittorrent (Hardlink), instead of creating a copy of it.
I will use a single docker-compose.yml file to install:
- Radarr - a movie collection manager
- Sonarr - a tv shows collection manager
- Prowlarr - an indexer manager
- qBittorrent - a torrent sharing client
- Byparr - to bypass antibot protection of indexes
- Jellyfin - an organization media application
- Jellyseerr - a discovery application
1.1 Create directory folders
I will host data within the hardrive of the system in a folder called data.
If you want to store your movies and tv shows in a separate hardrive, the process is the same - you just have to mount the it (google this) and replace the your_user_homepath/data for the hard drive path.
# Set one folder for data and other for the app config
sudo mkdir /your_user_homepath/data
sudo mkdir /your_user_homepath/data/{torrents,media}
sudo mkdir /your_user_homepath/data/{torrents,media}/{movies,tv}
sudo mkdir /your_user_homepath/docker/arr
# Set ownership
sudo chown -R 1000:1000 /your_user_homepath/data
sudo chown -R 1000:1000 /your_user_homepath/docker/arr
1.2 Docker compose file
After creating the files and setting the ownership (important!), create the docker-compose.yml file and install the apps via docker:
cd /your_user_homepath/docker/arr
touch docker-compose.yml
Write into docker-compose.yml the arr applications:
services:
    qbittorrent:
        container_name: qbittorrent
        image: ghcr.io/hotio/qbittorrent
        ports:
            - "6080:6080"
        environment:
            - PUID=1000
            - PGID=1000
            - UMASK=002
            - TZ=Etc/UTC
            - WEBUI_PORTS=6080/tcp,6080/udp
        volumes:
            - /home/pipegalera/docker/arr/qbittorrent/config:/config
            - /home/pipegalera/drive/data/torrents:/data/torrents
        restart: unless-stopped

    sonarr:
        image: ghcr.io/hotio/sonarr
        container_name: sonarr
        environment:
            - PUID=1000
            - PGID=1000
            - UMASK=002
            - TZ=Etc/UTC
        volumes:
            - /home/pipegalera/docker/arr/sonarr/config:/config
            - /home/pipegalera/drive/data:/data
        ports:
            - 8989:8989
        restart: unless-stopped

    radarr:
        container_name: radarr
        image: ghcr.io/hotio/radarr
        ports:
            - "7878:7878"
        environment:
            - PUID=1000
            - PGID=1000
            - UMASK=002
            - TZ=Etc/UTC
        volumes:
            - /home/pipegalera/docker/arr/radarr/config:/config
            - /home/pipegalera/drive/data:/data
        restart: unless-stopped

    prowlarr:
        container_name: prowlarr
        image: ghcr.io/hotio/prowlarr
        ports:
            - "9696:9696"
        environment:
            - PUID=1000
            - PGID=1000
            - UMASK=002
            - TZ=Etc/UTC
        volumes:
            - /home/pipegalera/docker/arr/prowlarr/config:/config
        restart: unless-stopped

    jellyfin:
        container_name: jellyfin
        image: ghcr.io/hotio/jellyfin
        ports:
            - "8096:8096"
        environment:
            - PUID=1000
            - PGID=1000
            - UMASK=002
            - TZ=Etc/UTC
        volumes:
            - /home/pipegalera/docker/arr/jellyfin/config:/config
            - /home/pipegalera/drive/data:/data
        restart: unless-stopped

    jellyseerr:
        container_name: jellyseerr
        image: ghcr.io/hotio/jellyseerr
        ports:
            - "5055:5055"
        environment:
            - PUID=1000
            - PGID=1000
            - UMASK=002
            - TZ=Etc/UTC
        volumes:
            - /home/pipegalera/docker/arr/jellyseerr/config:/config
        restart: unless-stopped

    byparr:
        container_name: byparr
        image: ghcr.io/thephaseless/byparr:latest
        restart: unless-stopped
        shm_size: 2gb
        build:
            context: .
            dockerfile: Dockerfile
        ports:
            - "8191:8191"
Make sure you are in the correct parent folder (e.g. /your_user_homepath/docker/arr) and run docker compose up -d
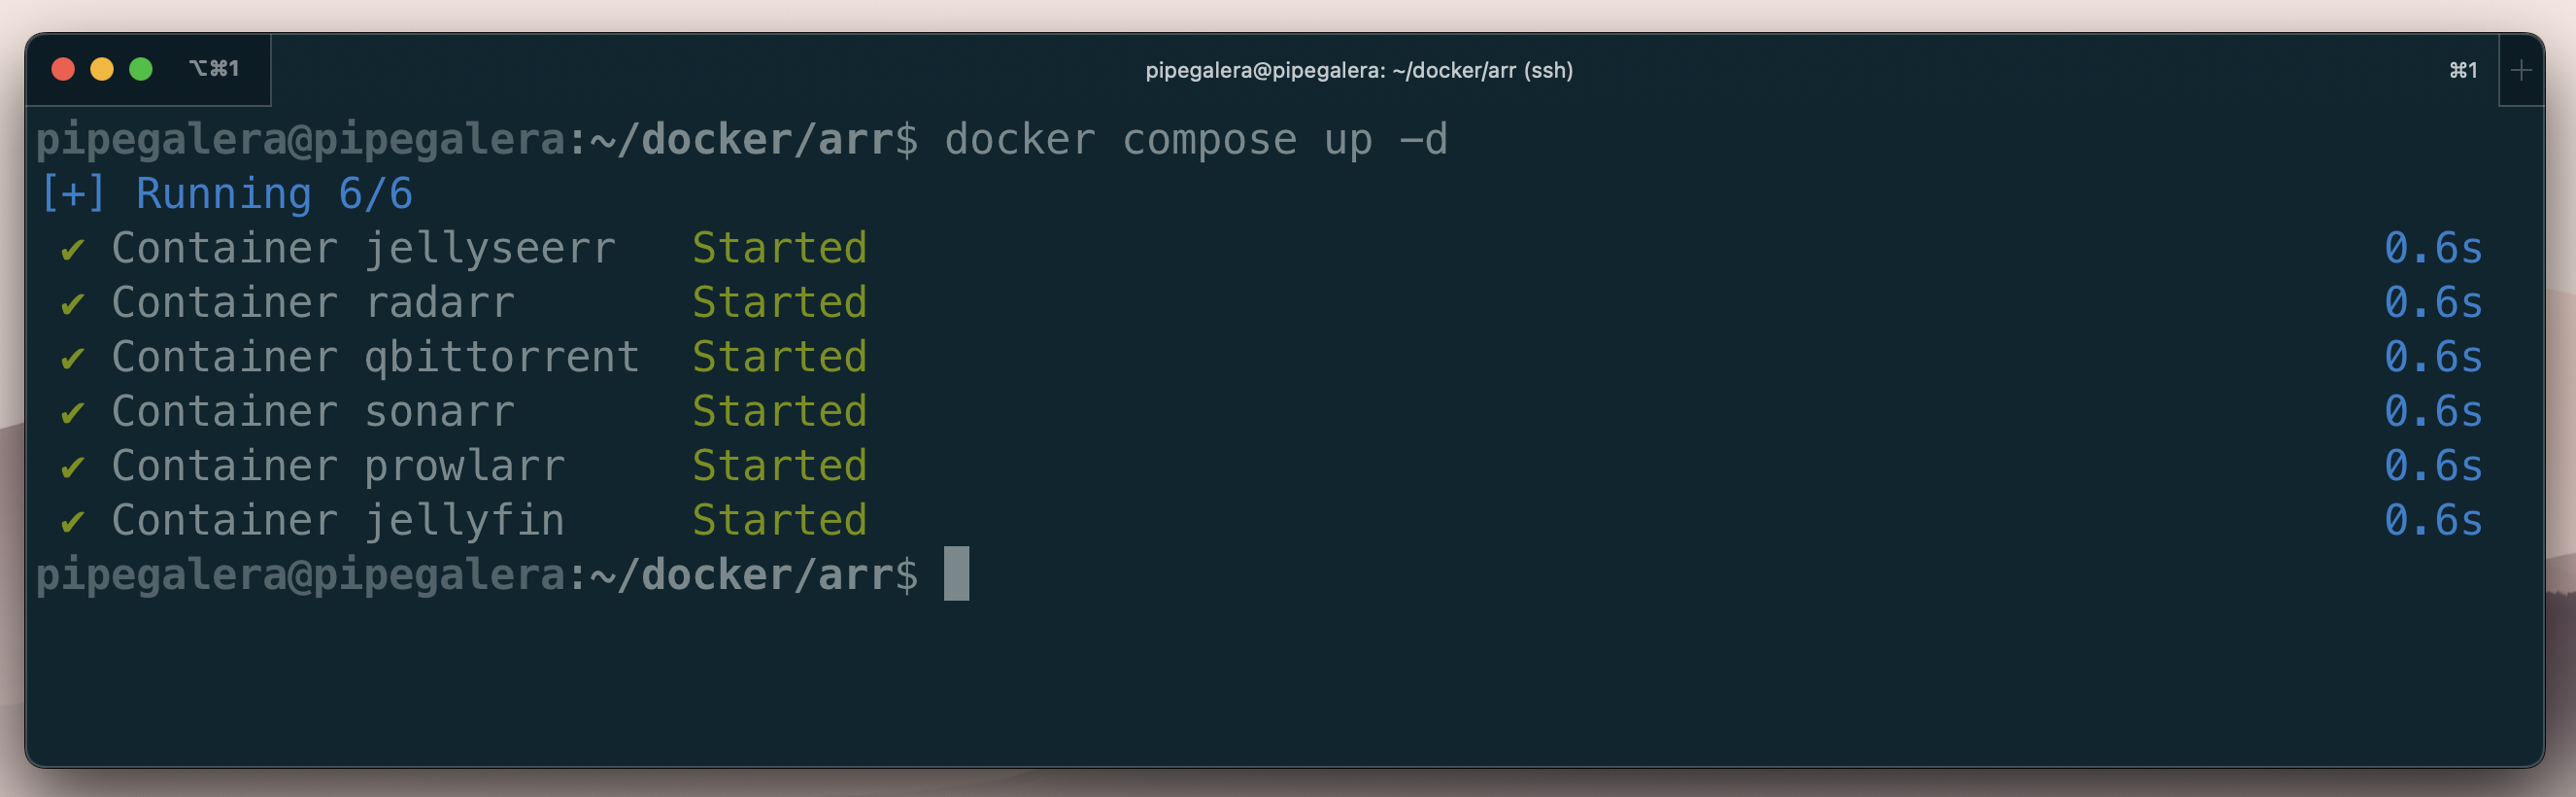
From here on you should be able to access the services:
Prowlarr: http://your_ip:9696qBittorrenthttp://your_ip:9696Radarr: http://your_ip:9696Sonarr: http://your_ip:9696Jellyfin: http://your_ip:9696Jellyseerr: http://your_ip:5055
- Running only selected apps:
docker compose up -d jellyfin radarr - Taking them down:
docker compose down jellyfin - Check the logs for info or errors:
docker logs radarr - Check the images status:
docker compose ps
2. Setting up the apps
Here I will follow what I consider a logical order to setting up the applications:
Prowlarrto look for mediaqBittorrentto download mediaRadarrandSonarrto organize the filesJellyfinto reproduce themJellyseerrto discover new stuff
Replace your_ip for your IP or Tailscale IP / DNS name.
2.1 The Indexer: Prowlarr
- Go to:
http://your_ip:9696/ - Set up user:
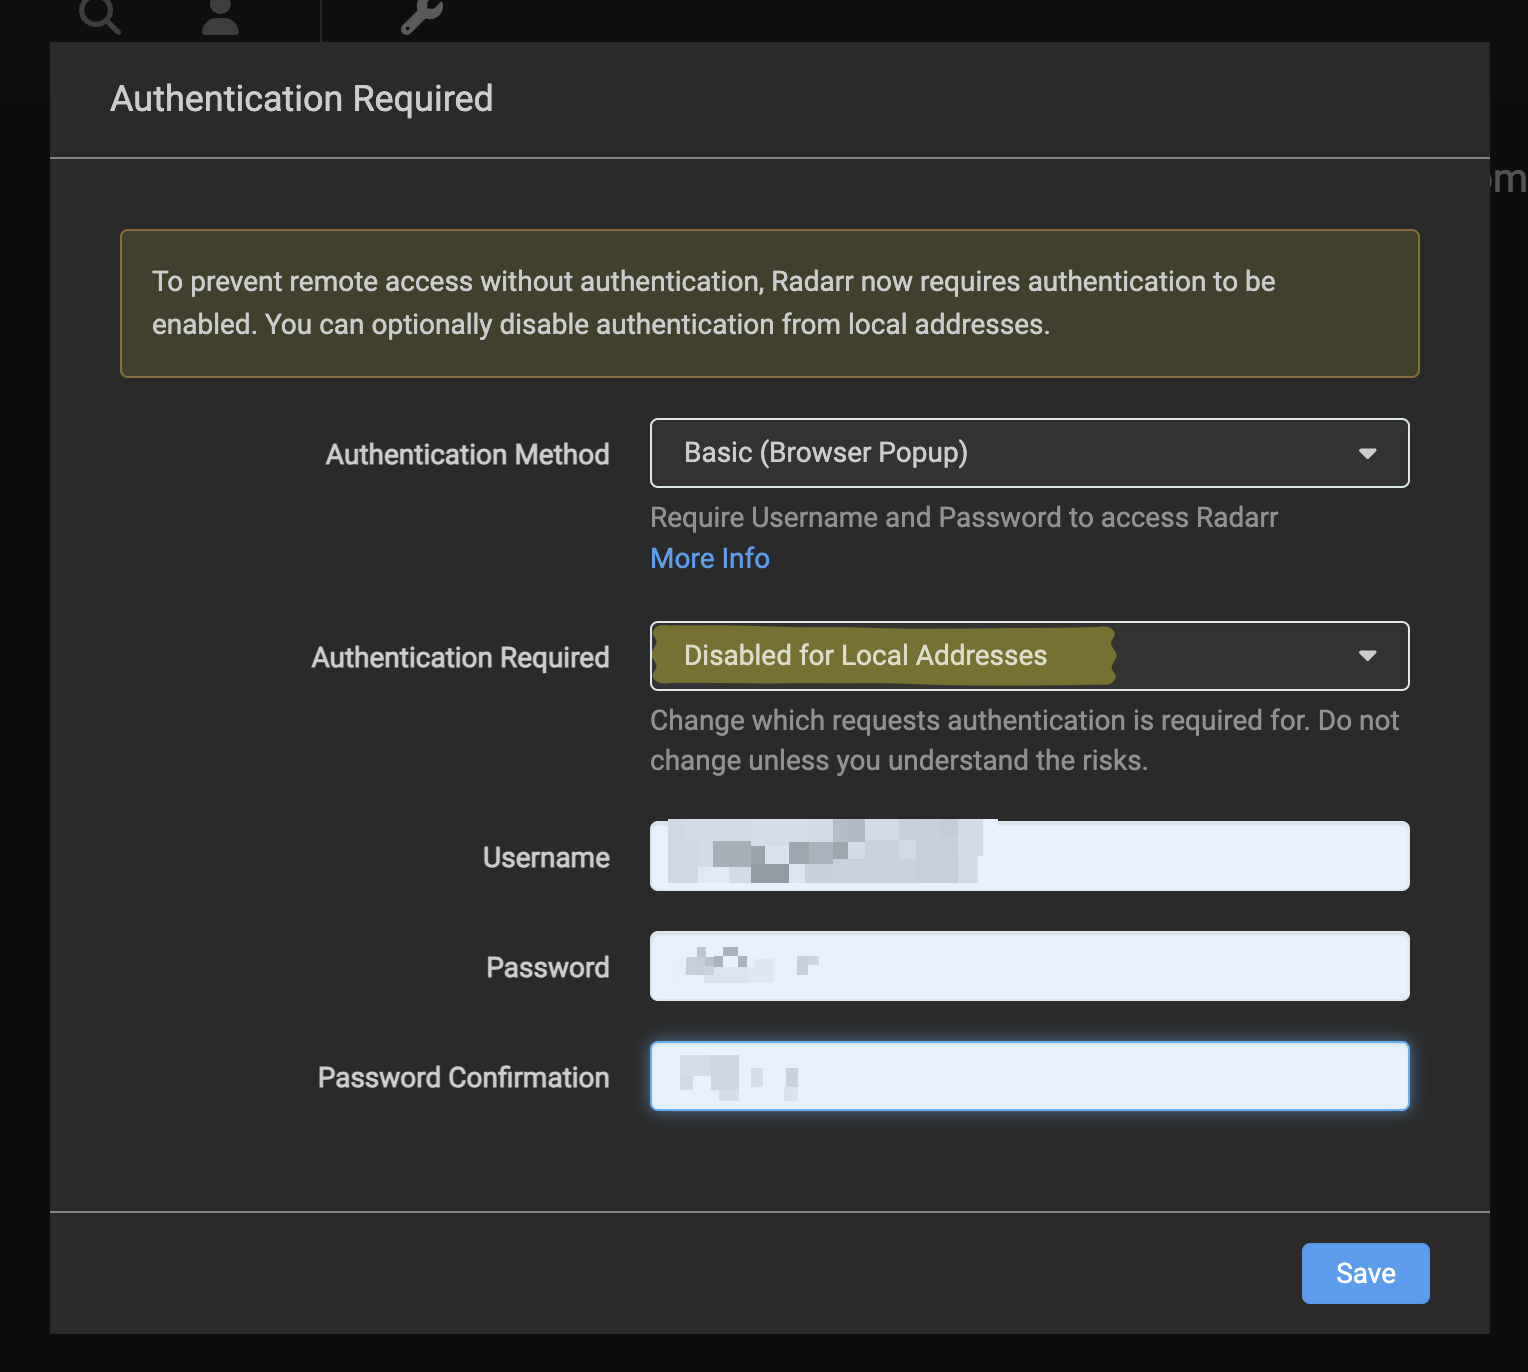
"Disable for Local Addresses" allow local logic without admin/password since we will only use the local network via Tailscale.
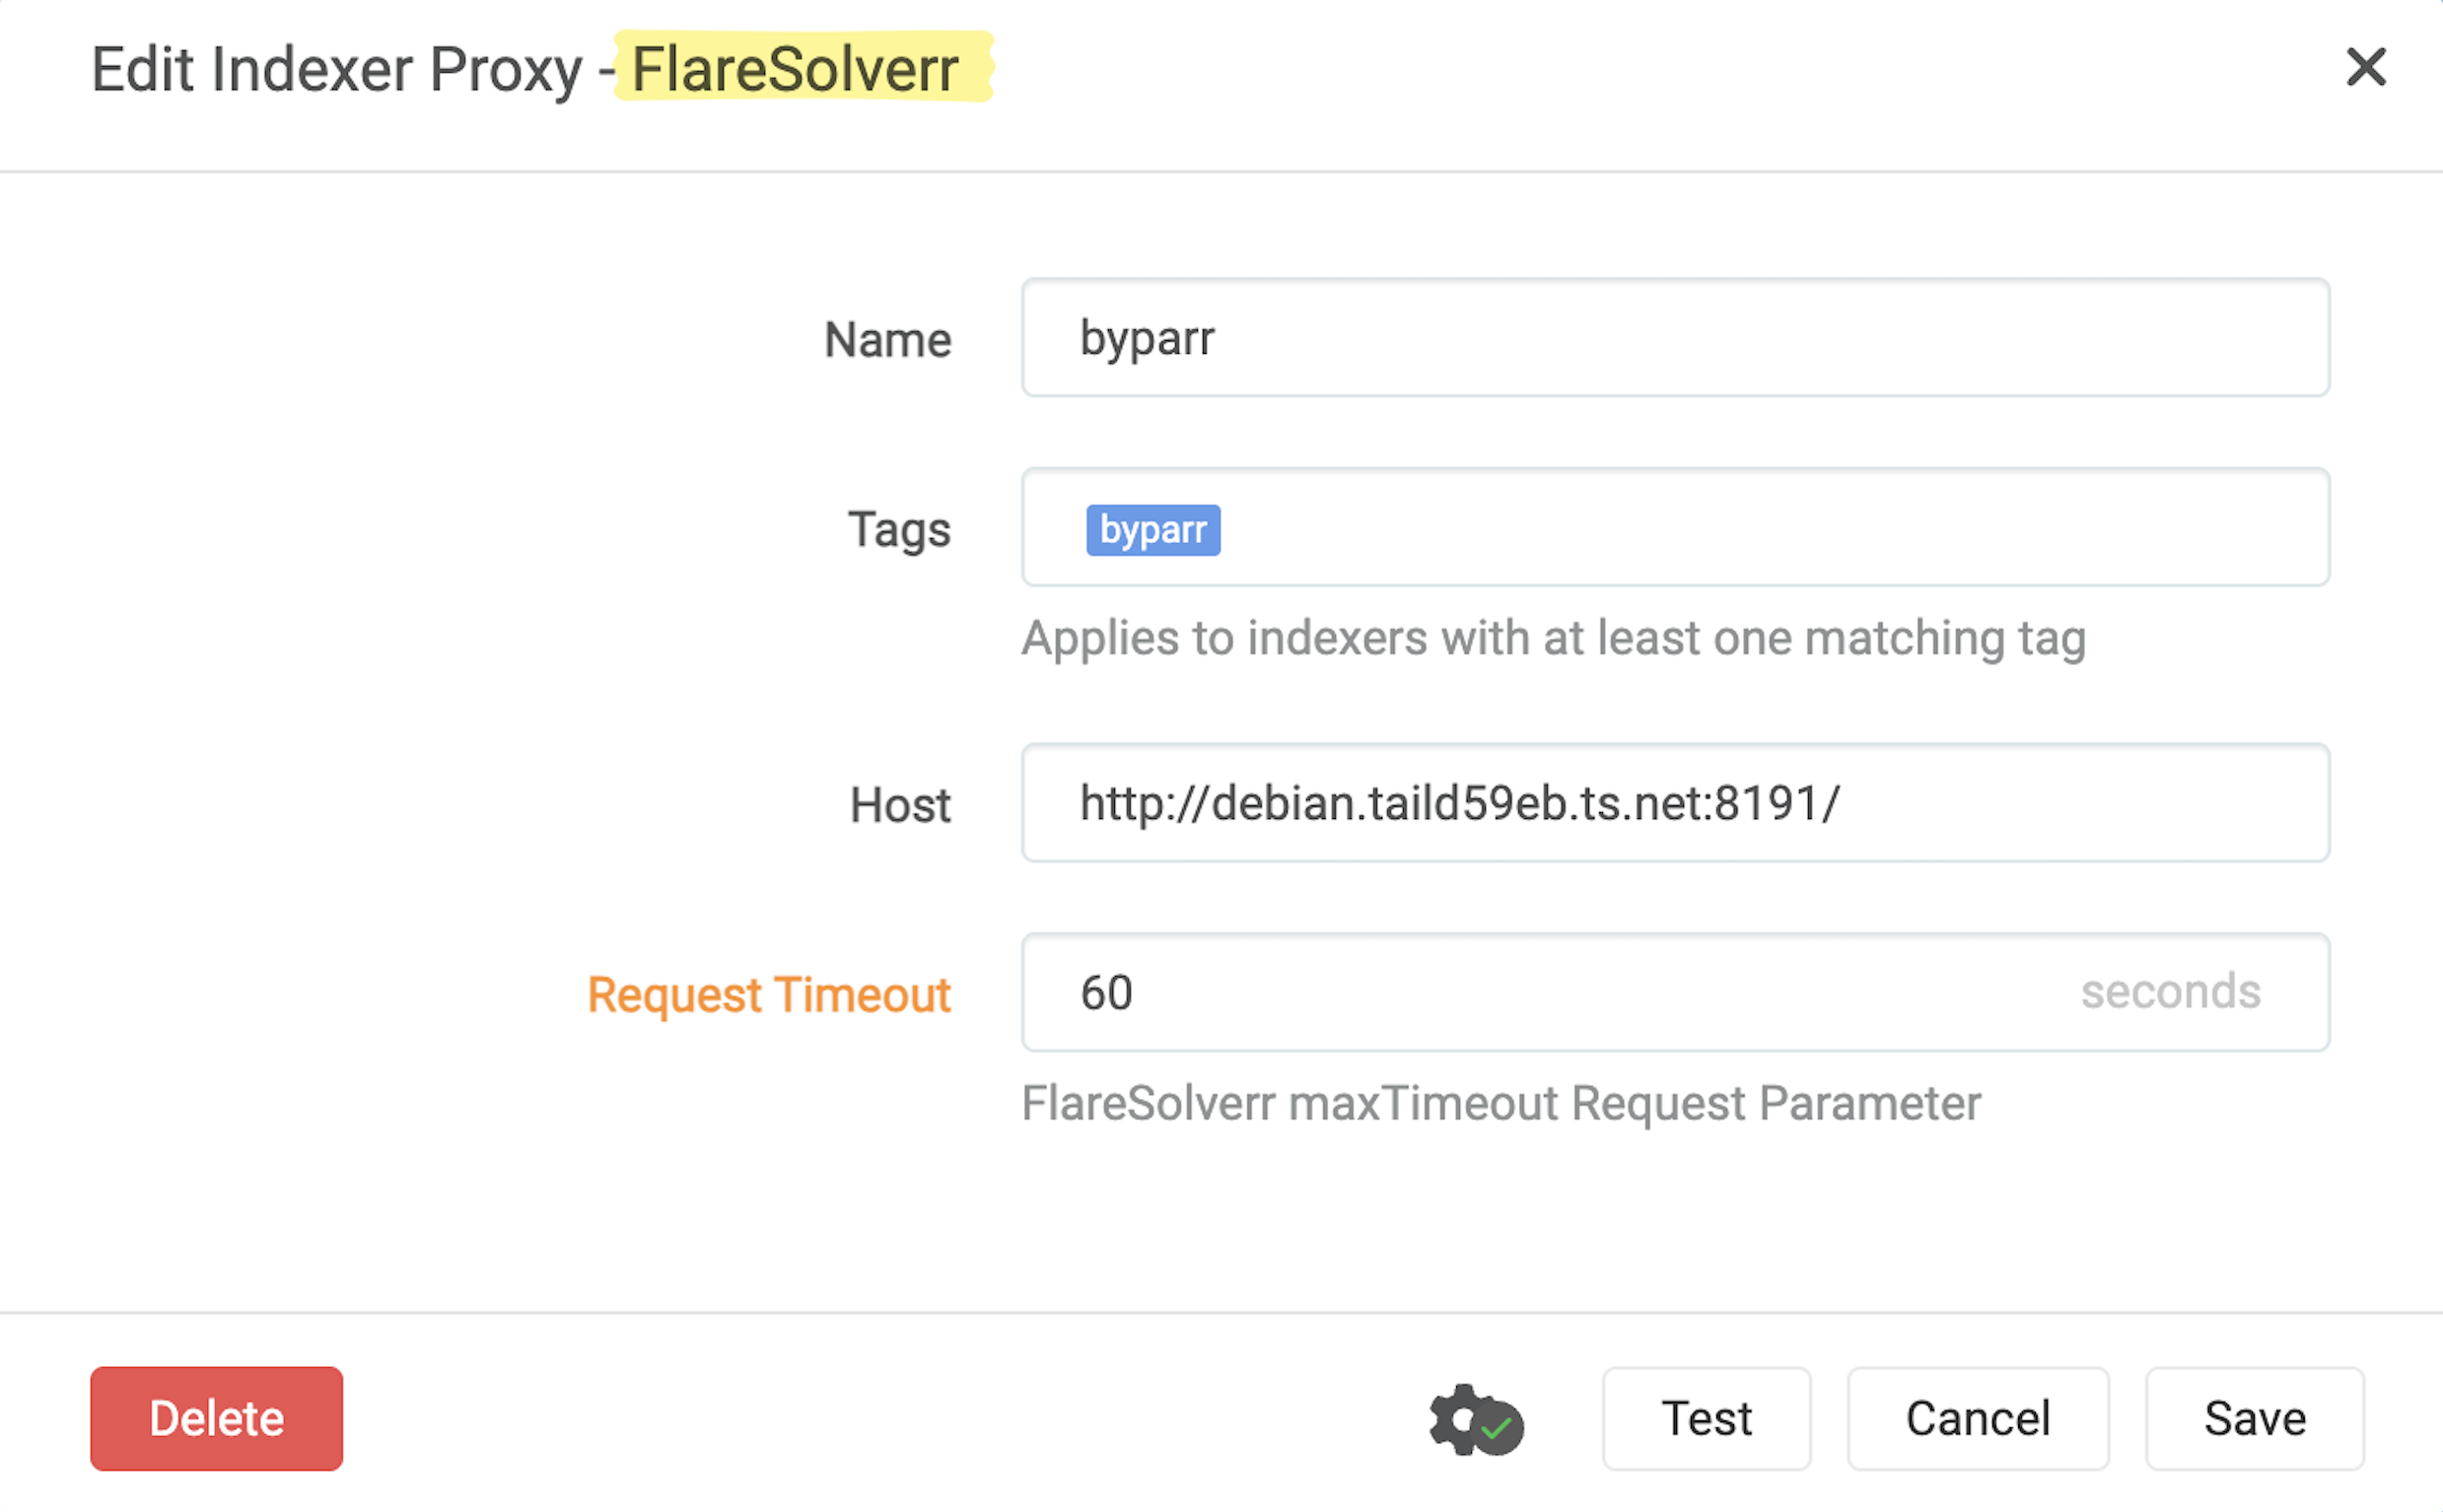
- Add byparr:
As of August 2025, most indexes do not work with Prowlarr without bypassing Cloudflare protection with an indexer proxy.
Go to: Settings -> Indexes -> Add -> FlareSolverr and add your byparr info from the docker compose.
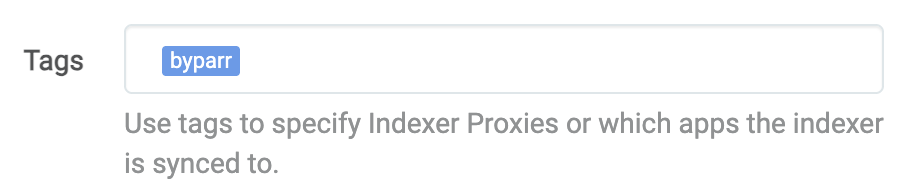
- Add indexers:
I won't recommend any illegal site. There is an interactive search bar with the most popular ones and what kind of service can provide.
You will need to add byparr tag to the tag section of the index when you add it:
- Grab API key from
Radarrto connect with Prowlarr
- Go to:
http://your_ip:7878/ - Set up user (same as with
Prowlarr) - Go to:
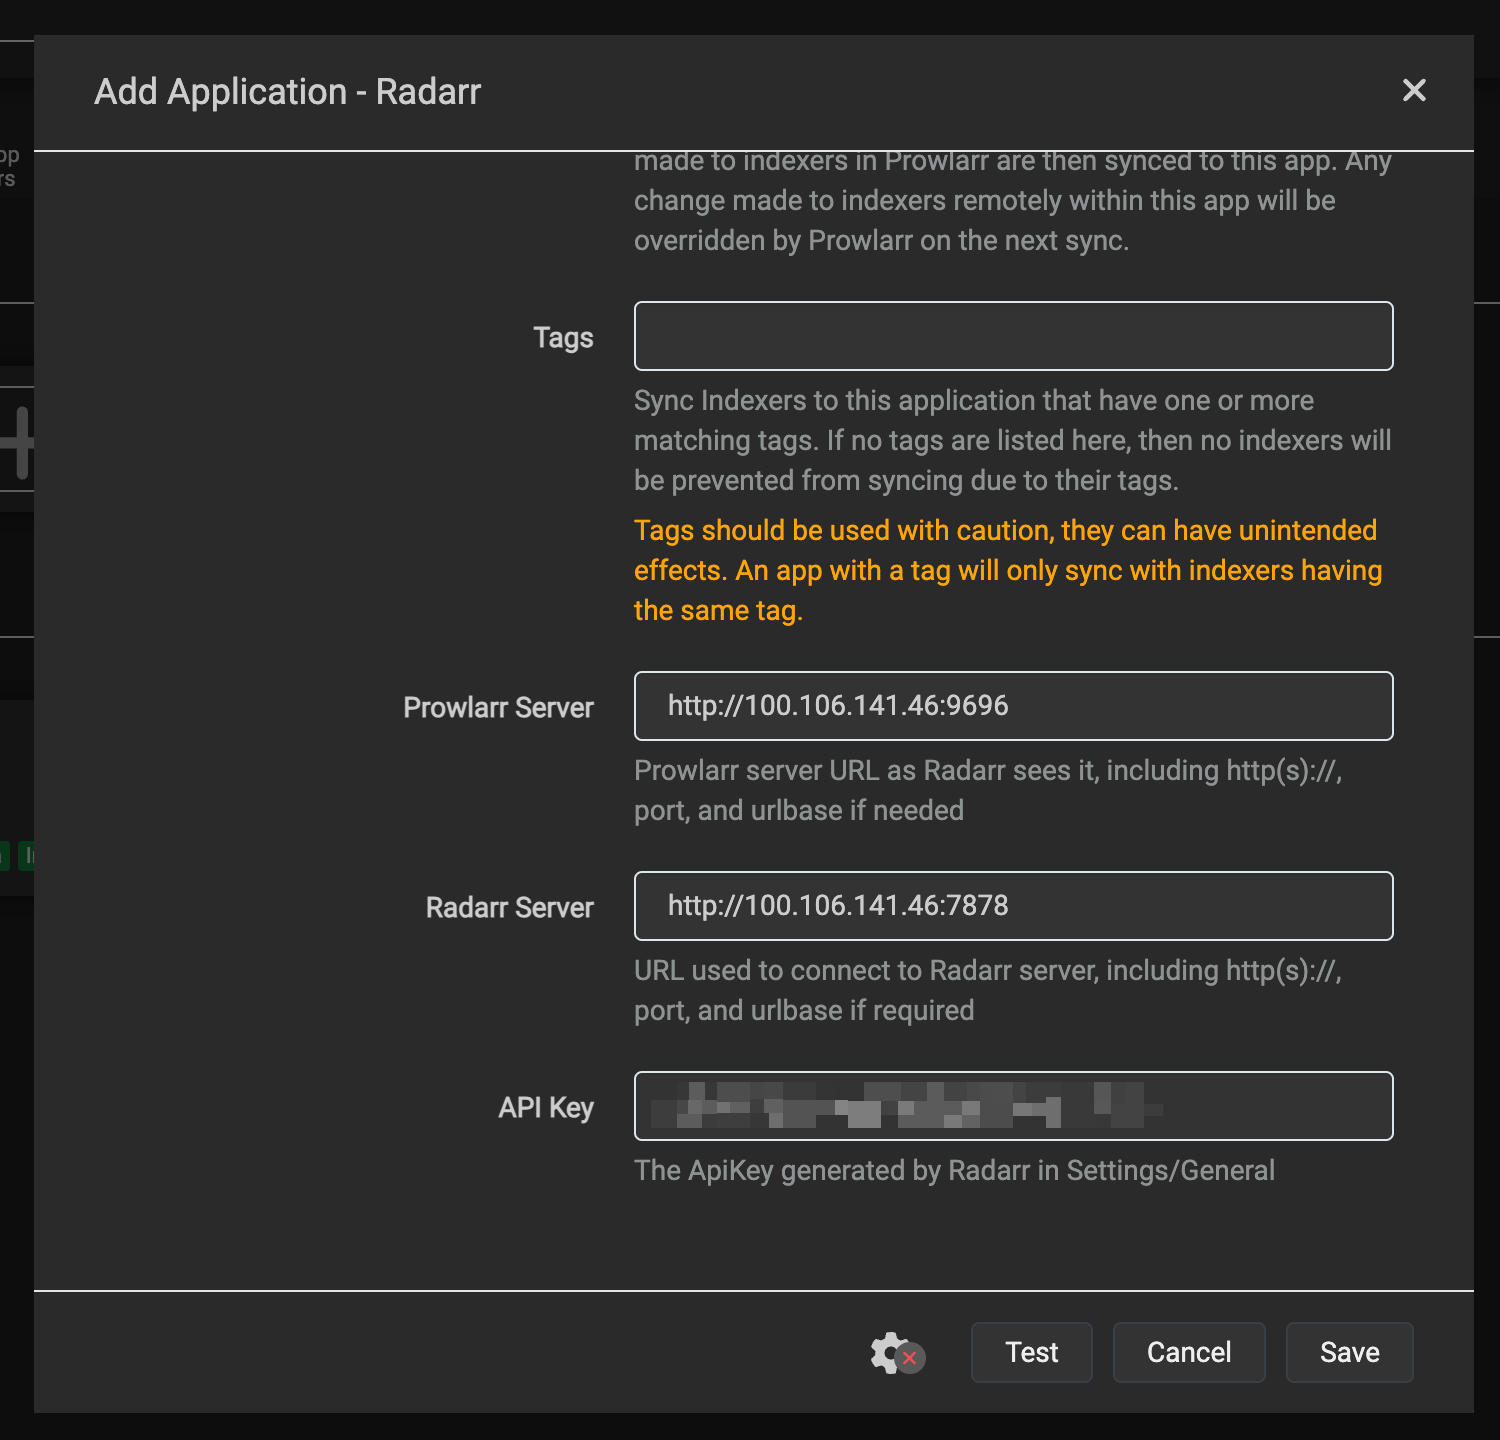
Settings -> General -> API key -> copy this - Go back to
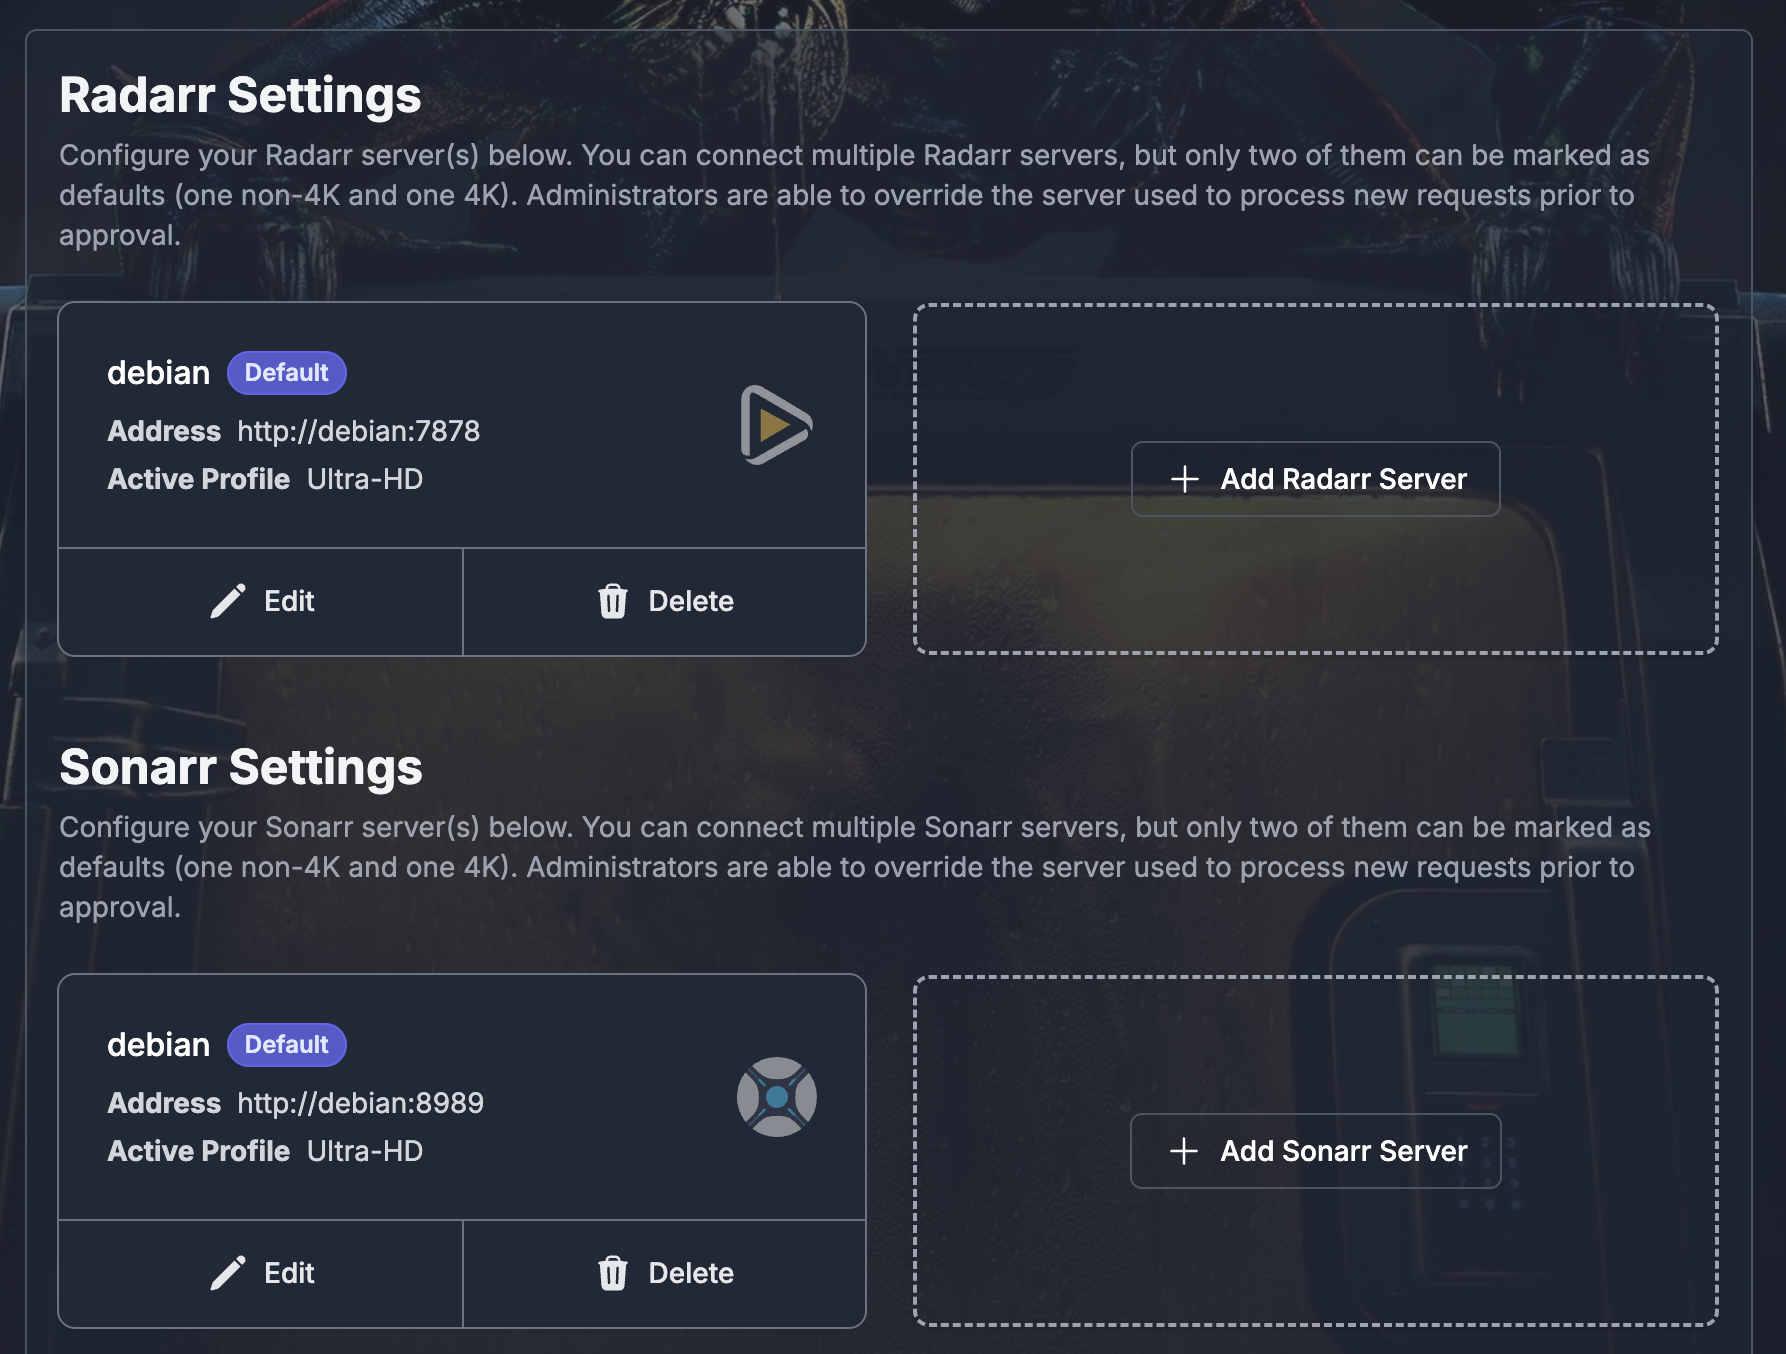
Prowlarrand set upRadarrconnection at:Settings -> App -> Add -> Radarr
- Grab API key from
Sonarrto connect with Prowlarr
Same steps:
- Go to:
http://your_ip:8989/ - Set up user (same as
Prowlarr) - Go to:
Settings -> General -> API key -> copy this - Go back to
Prowlarrand set upSonarrconnection at:Settings -> App -> Add -> Sonarr
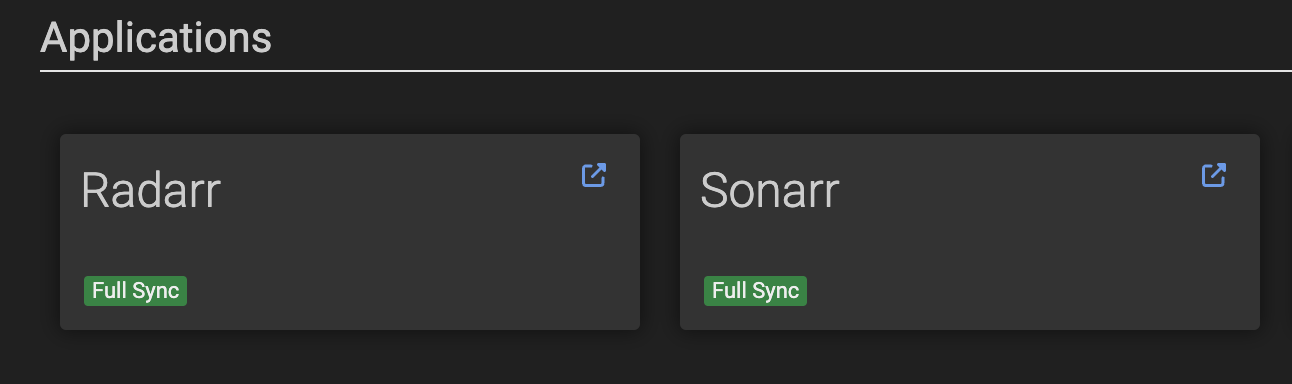
Prowlarr should show now the 2 apps:
2.2 The Torrent Client: qBittorrent
The first time it runs, qBittorrent provides a temporary password. You can see the credentials by running: docker logs qbittorrent .
It should print something like:
******** Information ********
To control qBittorrent, access the WebUI at: http://localhost:6080
The WebUI administrator username is: admin
The WebUI administrator password was not set. A temporary password is provided for this session: vpRYnzDbq
You should set your own password in program preferences.
Connection to localhost (::1) 6080 port [tcp/*] succeeded!
Once you are inside the app.
- Change the password:
Tools -> Options -> WebUI -> Authentication -> change password -> Save
- Limit the kind of files that are allowed to be downloaded for security:
Tools -> Options -> Downloads -> Exclude file names
*.arj
*.lnk
*.zipx
*sample.mkv
*sample.avi
*sample.mp4
*.py
*.vbs
*.html
*.php
*.torrent
*.exe
*.bat
*.cmd
*.com
*.cpl
*.dll
*.js
*.jse
*.msi
*.msp
*.pif
*.scr
*.vbs
*.vbe
*.wsf
*.wsh
*.hta
*.reg
*.inf
*.ps1
*.ps2
*.psm1
*.psd1
*.sh
*.apk
*.app
*.ipa
*.iso
*.jar
*.bin
*.tmp
*.vb
*.vxd
*.ocx
*.drv
*.sys
*.scf
*.ade
*.adp
*.bas
*.chm
*.crt
*.hlp
*.ins
*.isp
*.key
*.mda
*.mdb
*.mdt
*.mdw
*.mdz
*.potm
*.potx
*.ppam
*.ppsx
*.pptm
*.sldm
*.sldx
*.xlam
*.xlsb
*.xlsm
*.xltm
*.nsh
*.mht
*.mhtml
- The default path should be the one we created for
qBittorrent:
Tools -> Options -> Downloads -> Default Save path
Default Save path: /data/torrents
Keep incomplete torrents: /data/torrents/temp
2.3 Movie manager: Radarr
We will configure Radarr now. Go to Radarr at http://your_ip:7878/.
- Media Management settings
Settings -> Media Management -> Root Folders
And set the path for the movies that we created previously: /data/media/movies
- Download Client settings
Use the credentials from qbittorrent.
Settings -> Download Clients -> Download Client (plus sign) -> qbittorrent
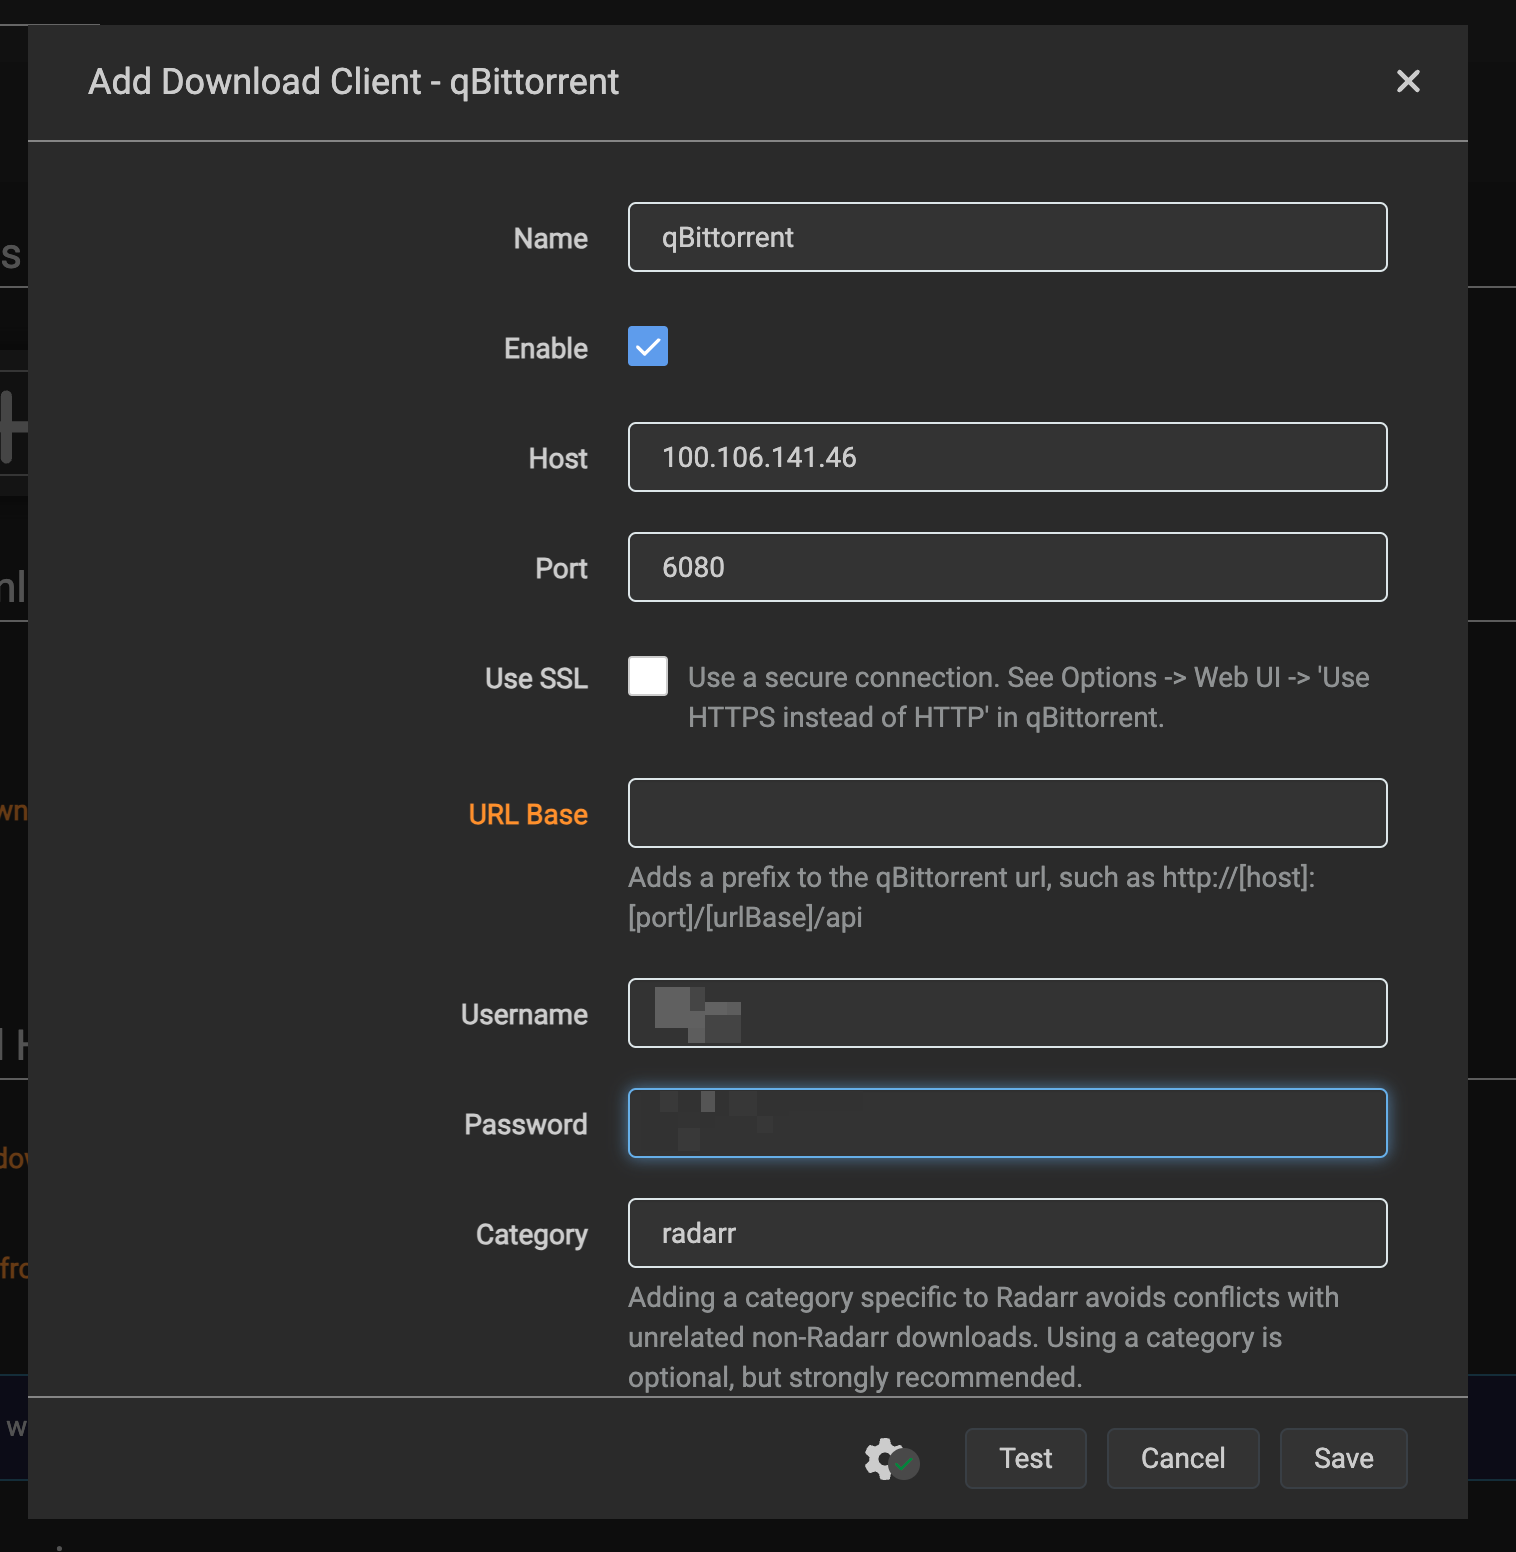
Please note that my screenshot has my own internal tailscale ip, use your ip.
2.4 TV Shows manager: Sonarr
We will configure Sonarr now. It is the exact same process, go to Sonarr at http://your_ip:8989/.
- Media Management settings
Settings -> Media Management -> Root Folders
And set the path for the tv shows that we created previously: /data/media/tv
- Download Client settings
Settings -> Download Clients -> Download Client (plus sign) -> qbittorrent
Use the credentials from qbittorrent.
Use the
Searchbutton up top ofRadarrto check if you find any (copyright free) movie. This will test ifProwlarrandRadarrcan interact with each other.Check that the movie was added and it's downloading (if it has seeders).
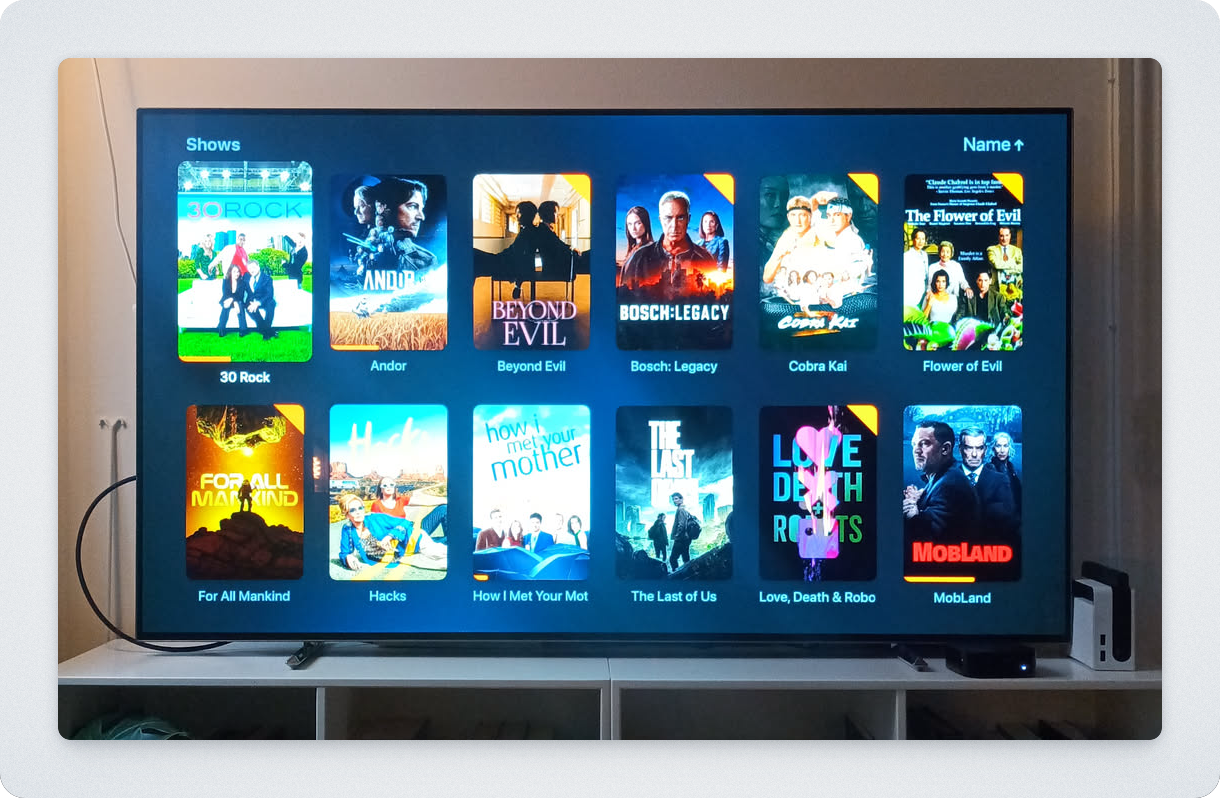
2.5 Multimedia Player: Jellyfin
Jellyfin is very easy to install. Go to the docker daemon at http://your_ip:8096/ and follow the web instructions.
- All the defaults are okay for my usecases.
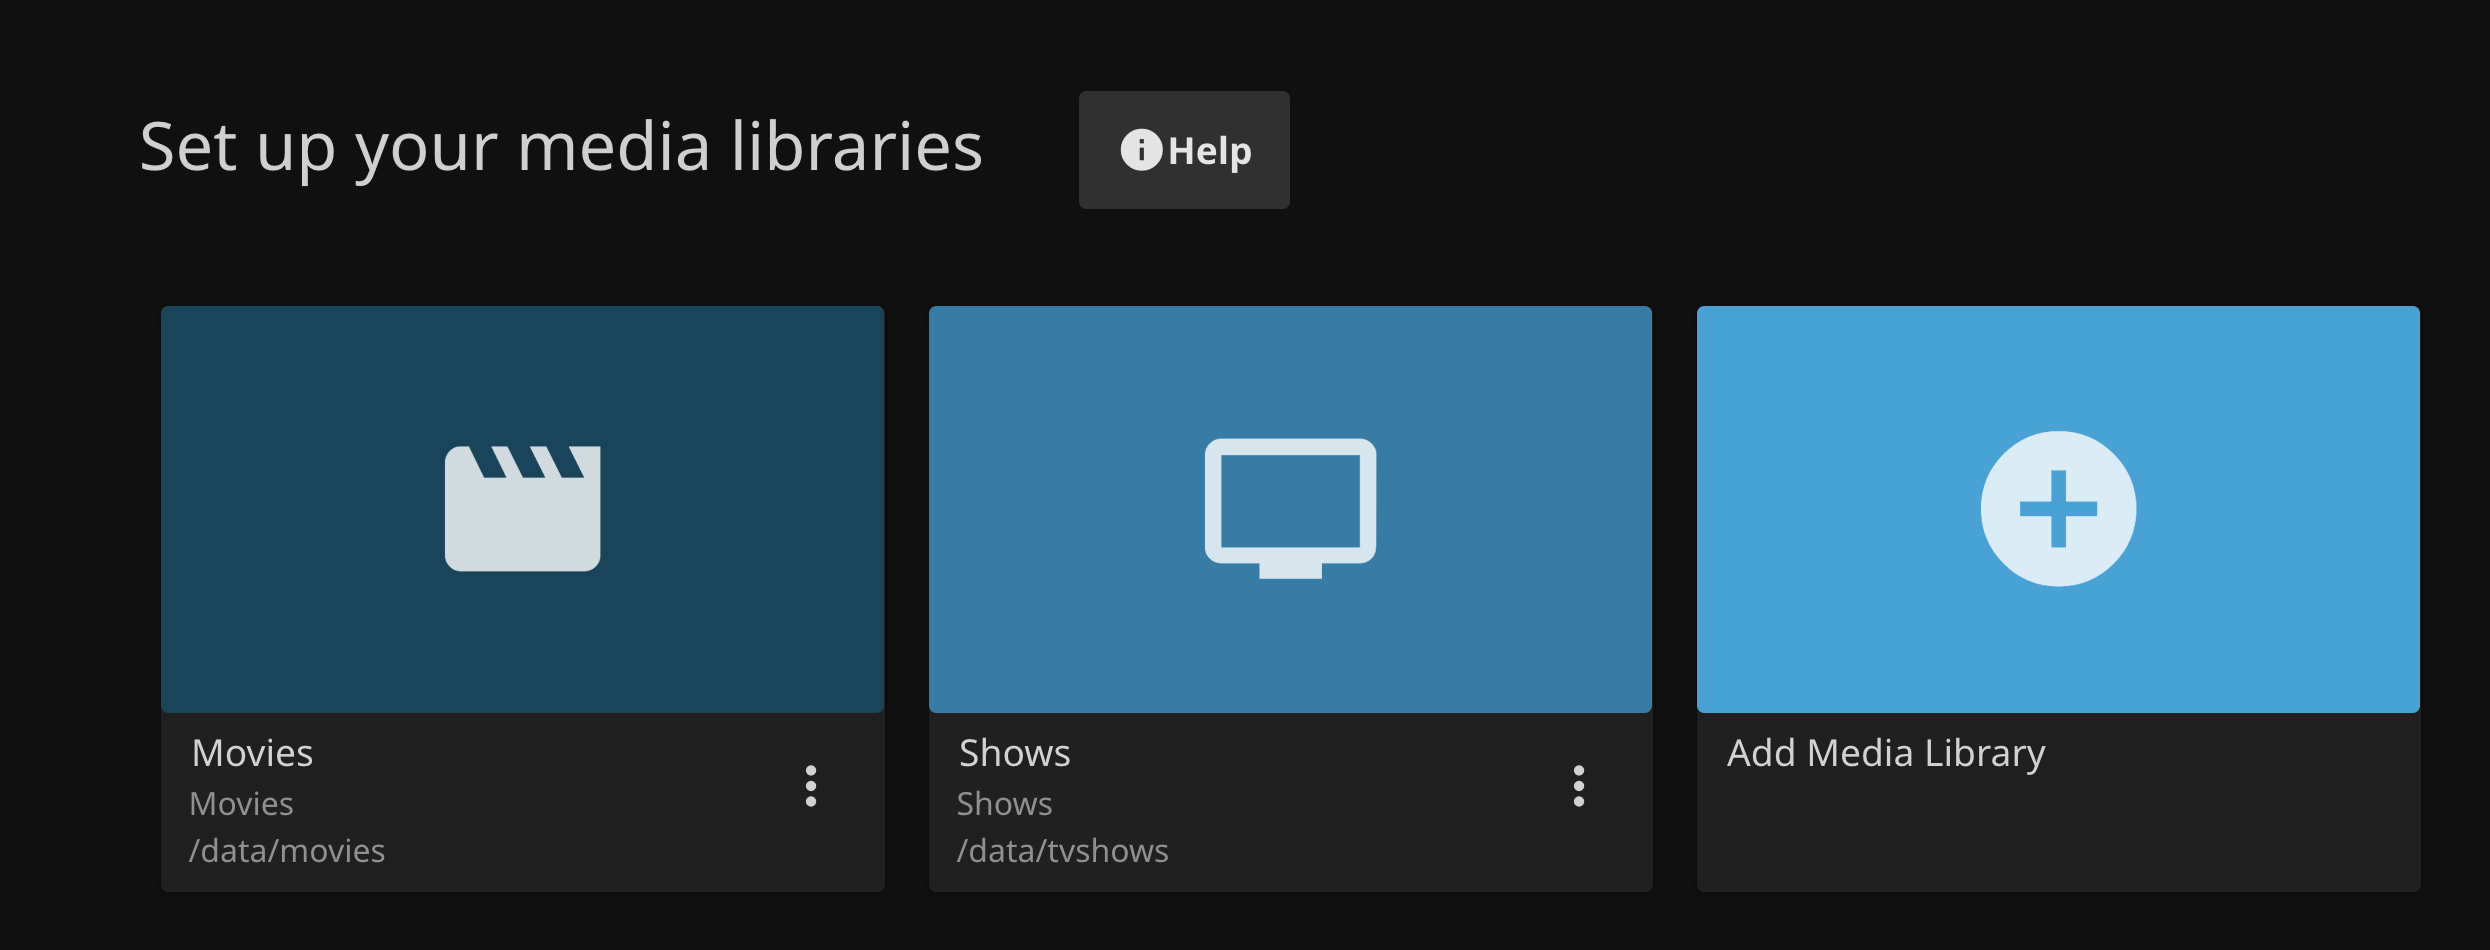
- Create one library to the movies pointing to folder
/data/media/movies - Create one library to the tvshows pointing to folder
/data/media/tv
You should use the media folder only, never torrents. The files are hardlinked to the torrent files and their metadata is cleaned by Radarr/Sonarr - do not use the path data/torrents.
Libraries should look like:
After loging in, click on to the left top corner (settings) and scan the libraries with the files. It will organize them and clean the metadata on it's hardlinked copy.
Settings -> Libraries -> Scan All Libraries
2.6 Discovery tool: Jellyseerr
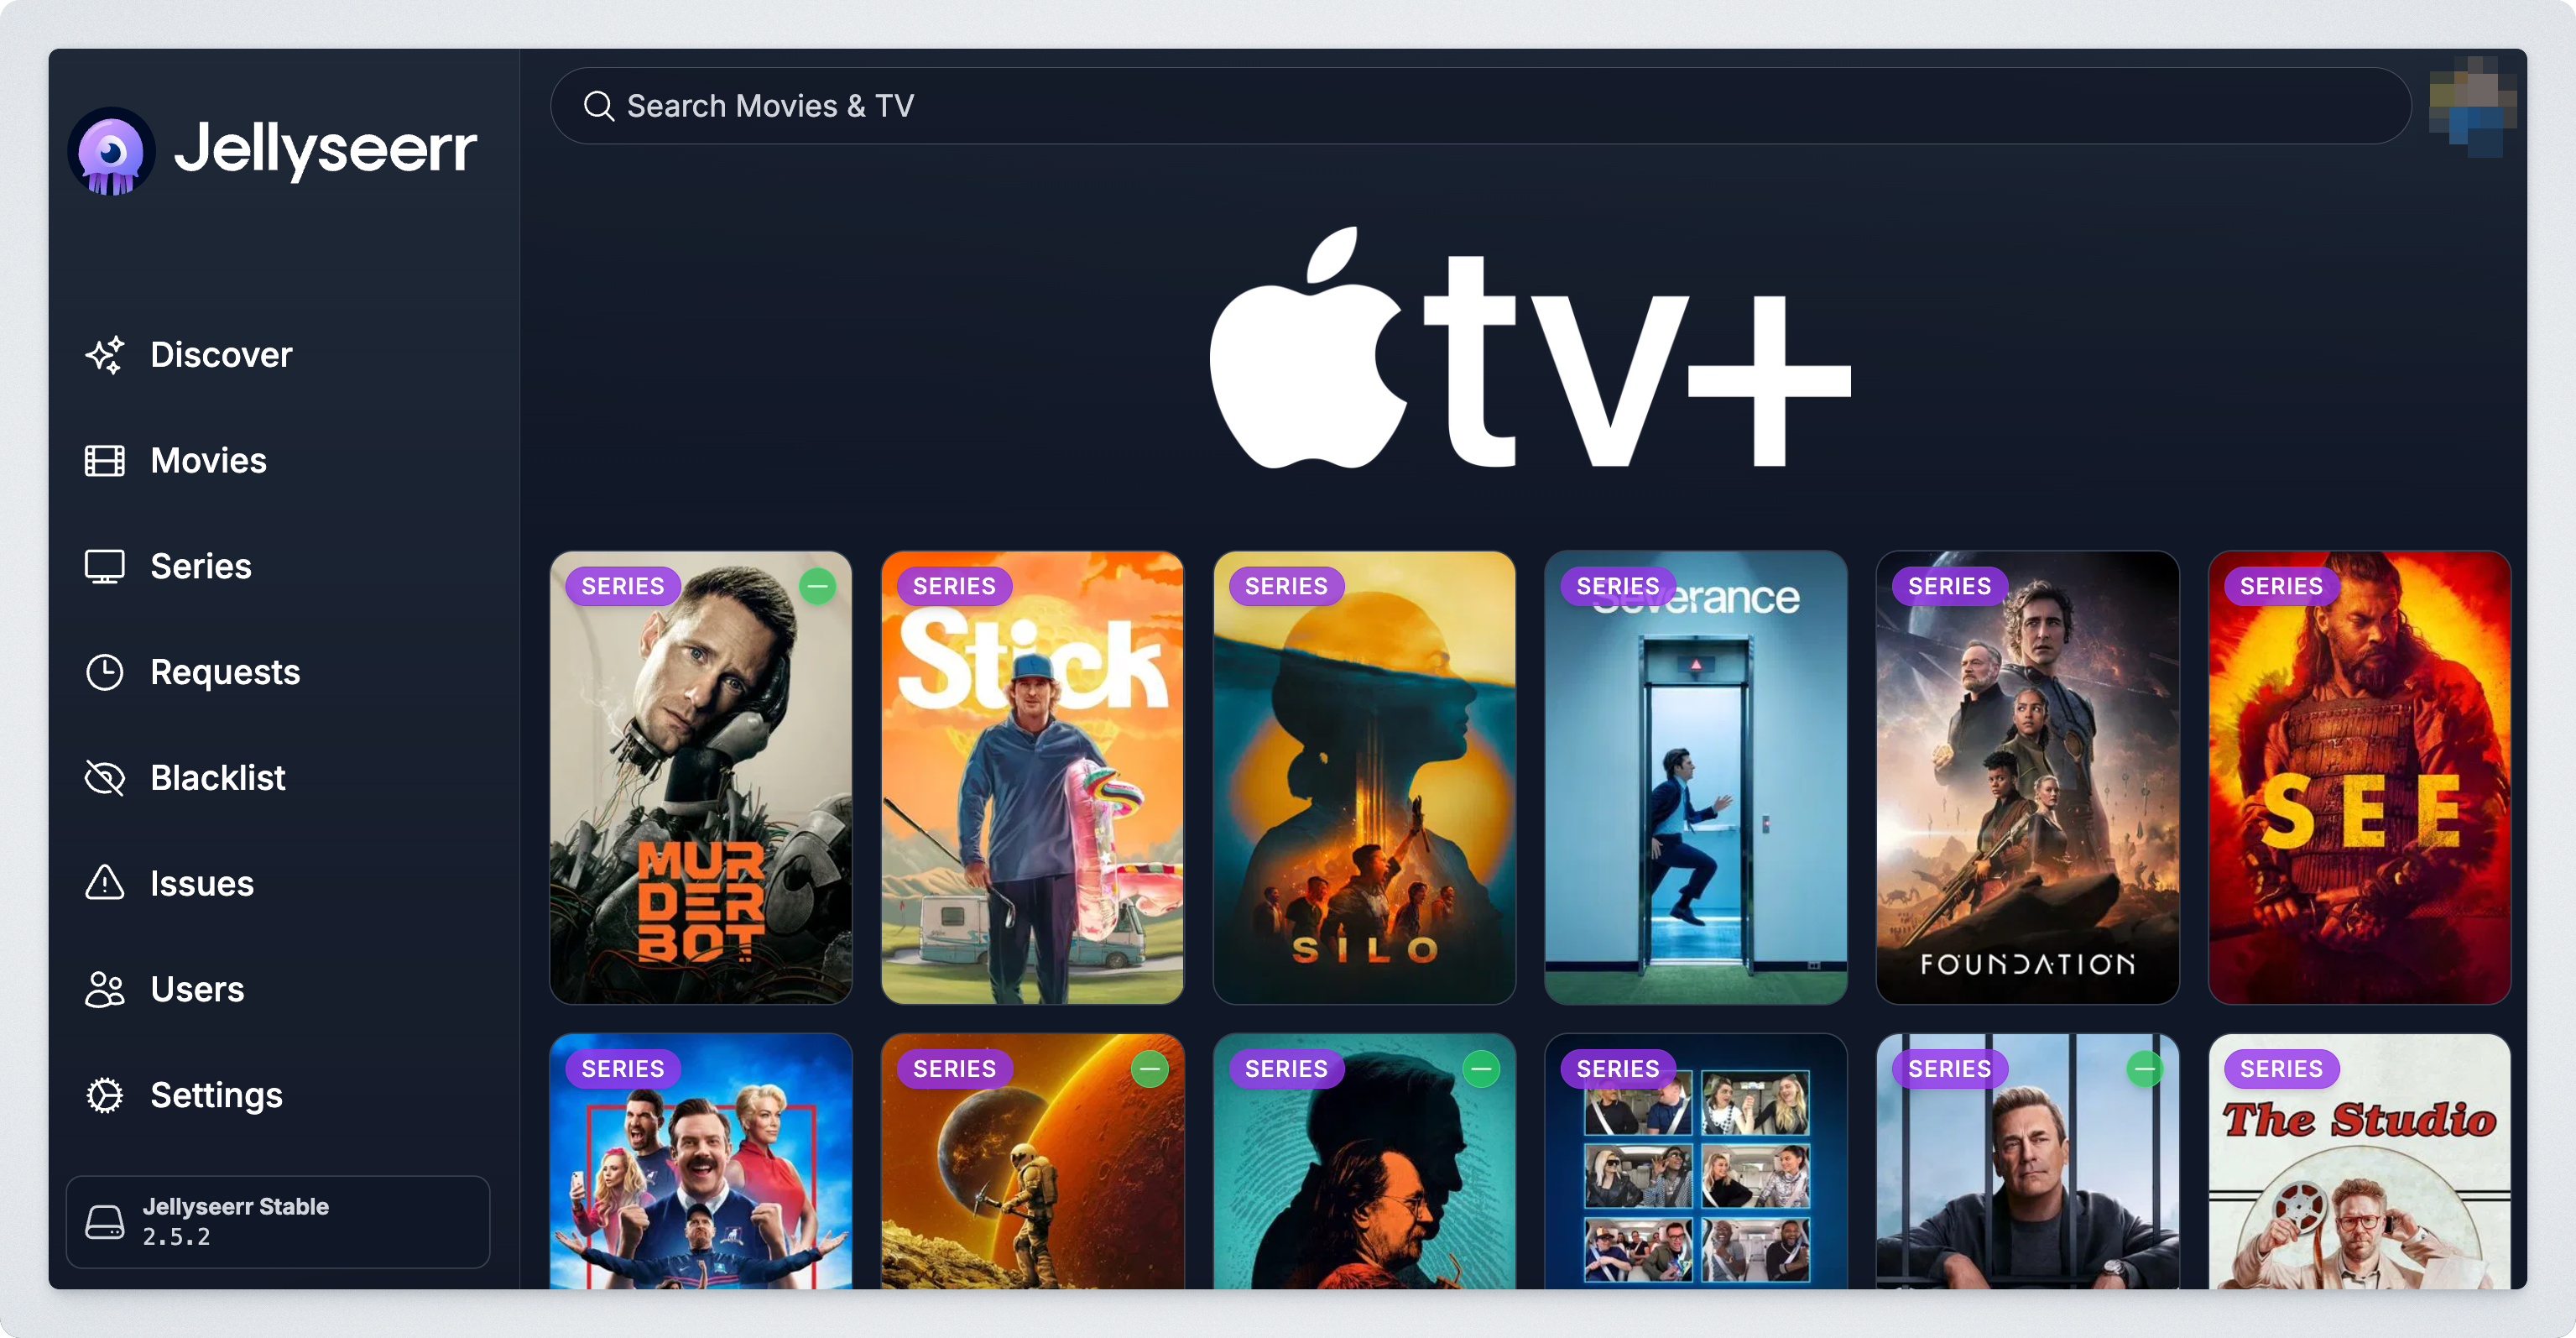
Jellyseerr is an application to discover new TV shows and movies. One of my favourite feature is that you can filter for network (e.g. Apple tv+) and request any content from there.
- Go to
http://your_ip:5050/ - Choose
Jellyfinas server and fill the following info with your ip andJellyfincredentials.
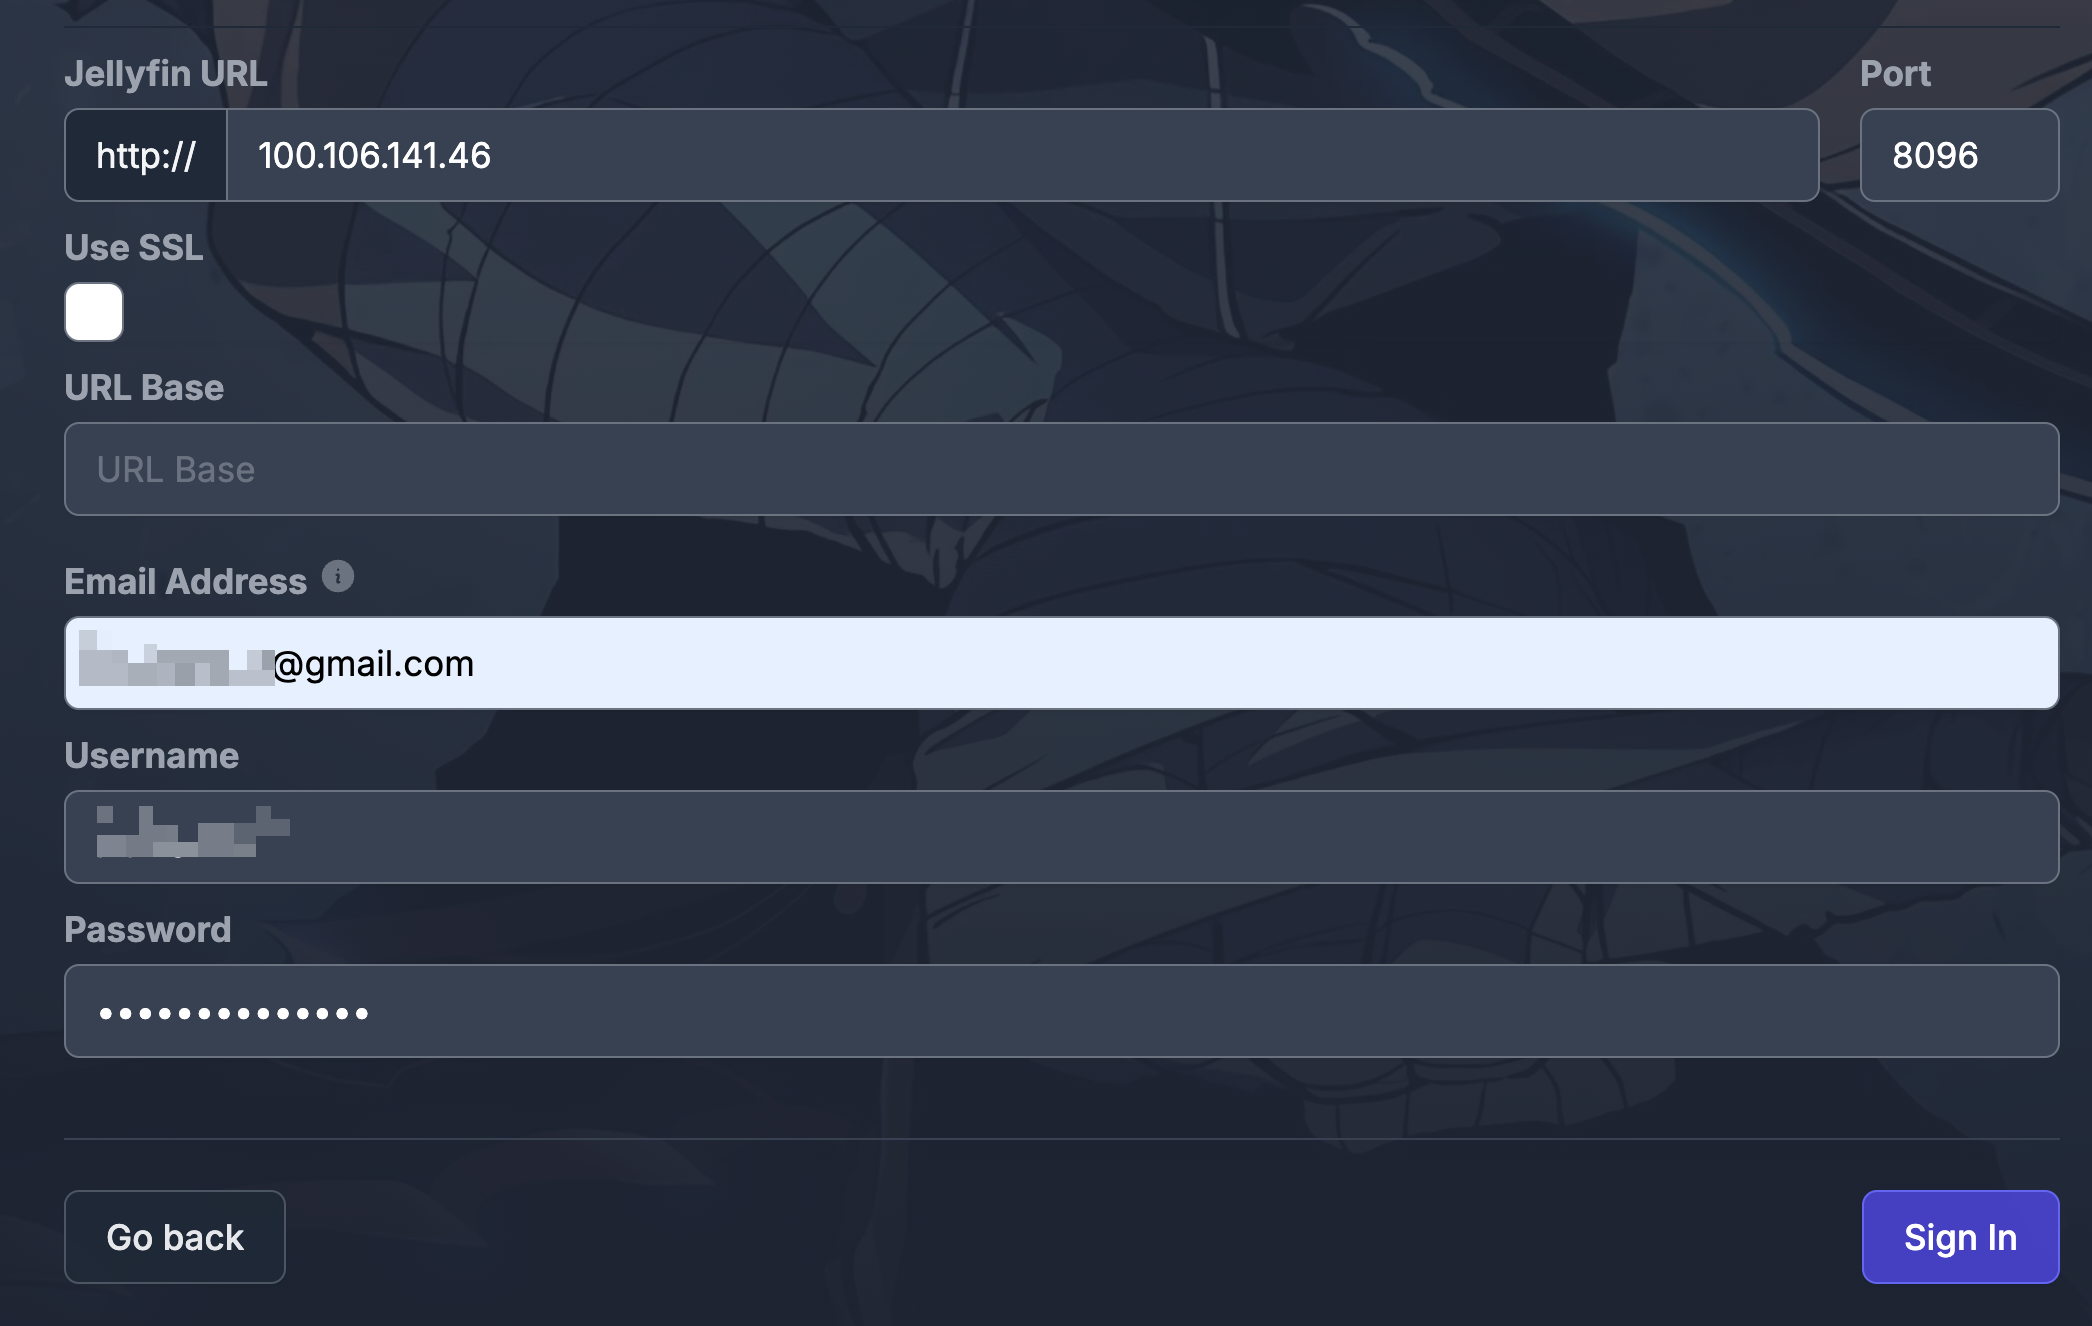
Click
Sync Libraries, select bothMoviesandTV Shows, andStart Scan.Configure Media Server. The usual information, at the end should look something like below with your own info.
Click continue and start exploring movies.
3. Setting a VPN with Mullvad and Tailscale
I strongly recommend using a VPN if you want to protect your privacy on the internet, even if you are not doing anything ilegal.
Tailscale colab with Mullvad to provide a VPN mask for your IP for $5 month.
The instructions below is a guide on how to implement it to your server.
3.1 From the server
Once you got the Mullvad paid extension, go to the Mullvand section in Tailscale and add your server DNS from the dropdown menu.
After adding it, you can see the list of VPN locations running:
tailscale exit-node list
Choose an ip or run tailscale exit-node suggest.
sudo tailscale set --exit-node=the_ip_choosen --exit-node-allow-lan-access
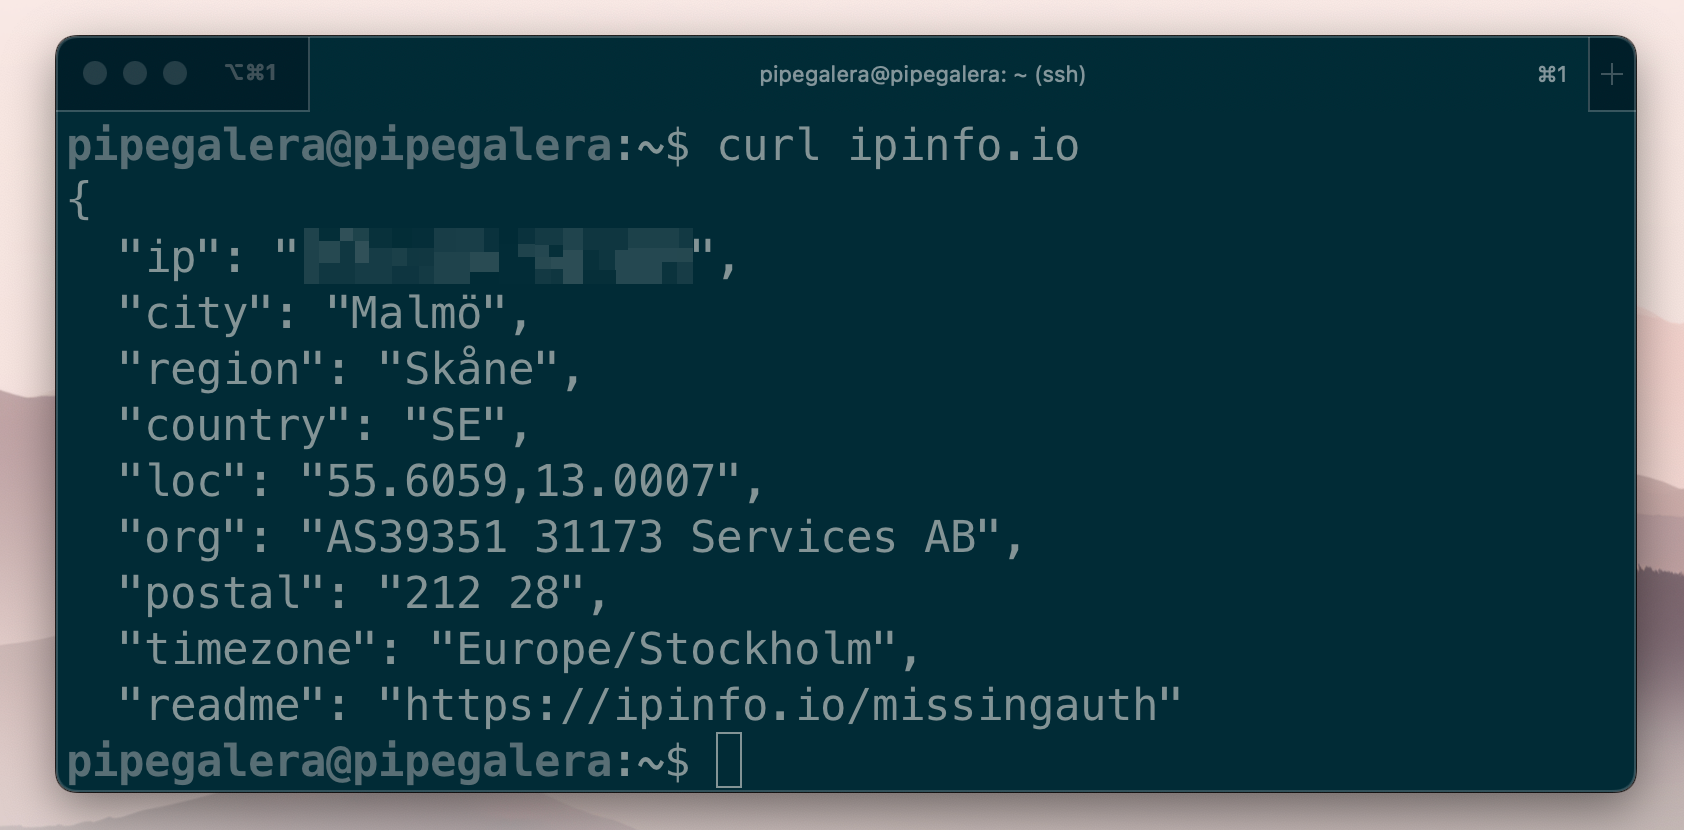
After waiting 5 minutes you can use curl ipinfo.io to check where you public IP is:
3.2 From clients and devices
You can use the VPN in up to 5 devices, and set your devices in different locations.
From MacOS Tailscale app is very easy to change IP locations:
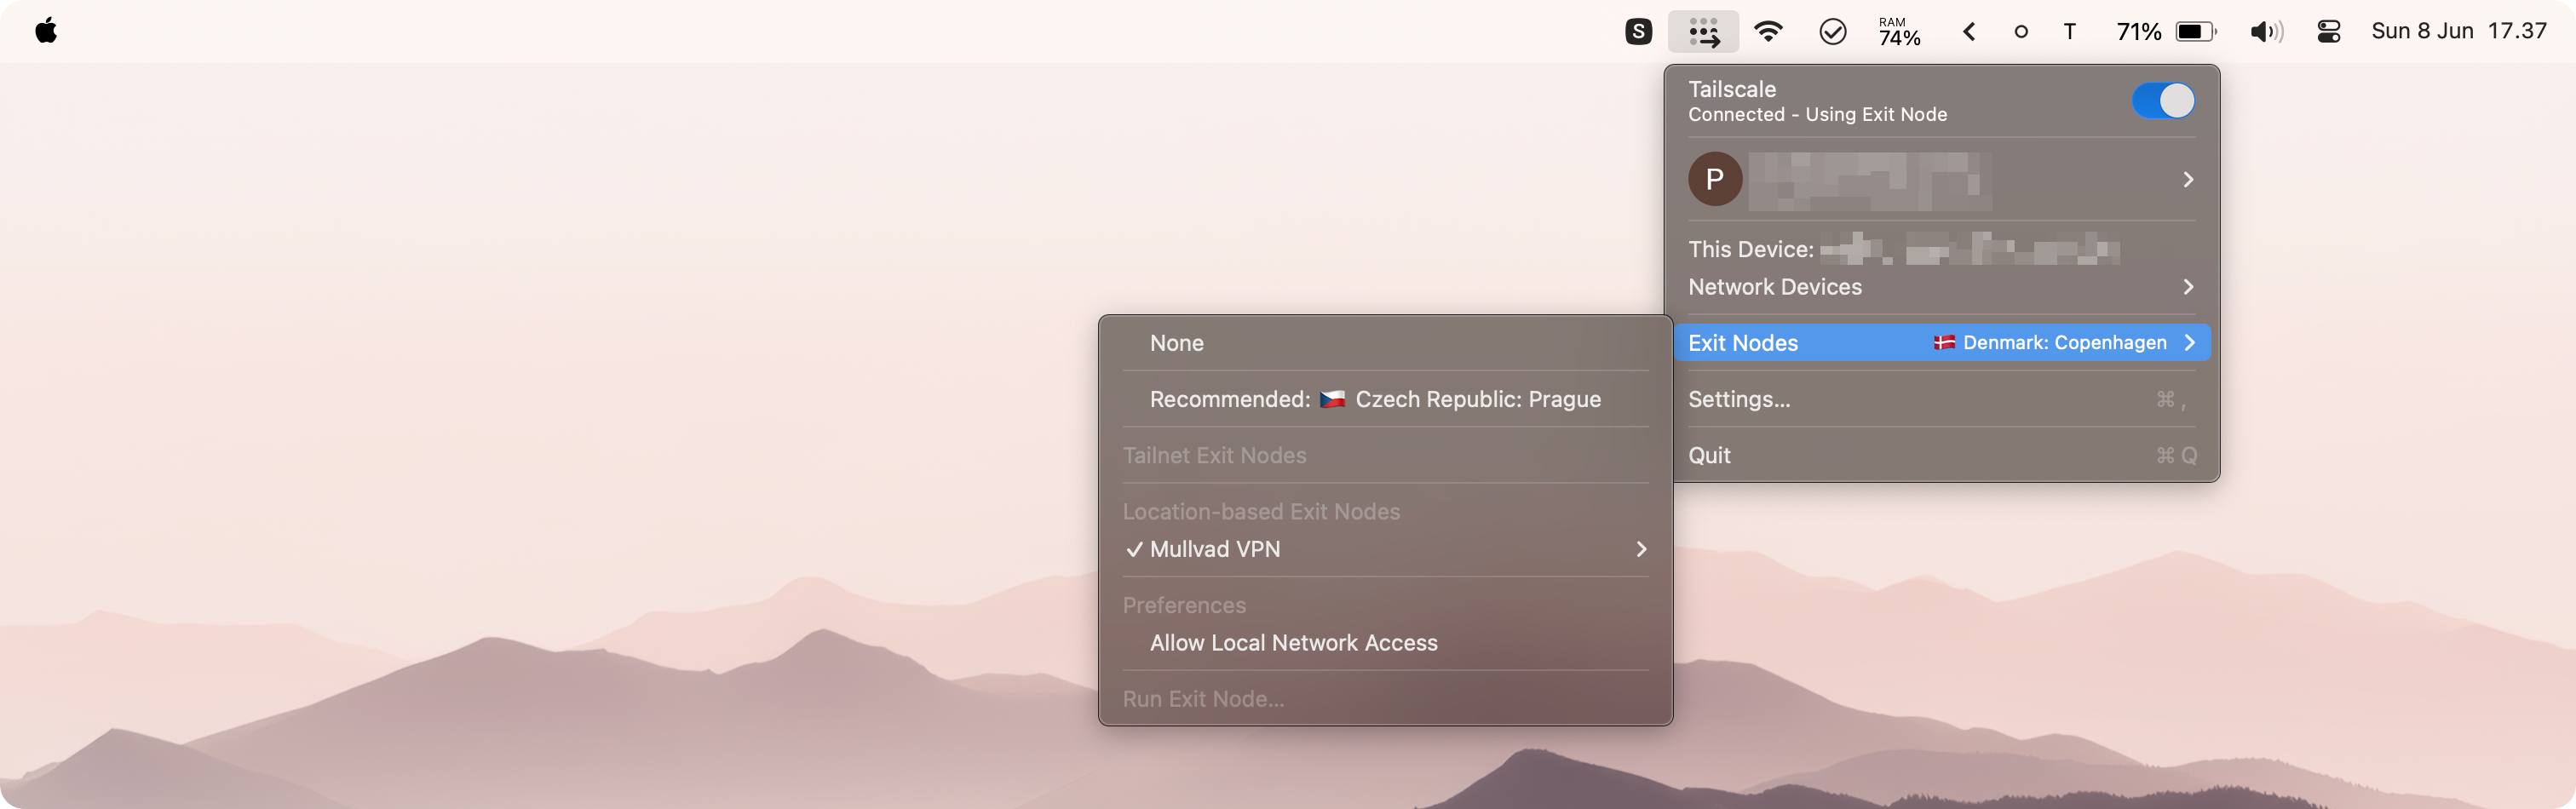
Since the server and devices connect internally via Tailscale IPs, it doesn't affect their connection if they use different exit nodes or VPN locations.
I really like Mullvad VPN. They have all the "green flags" from people that care about internet privacy: from setting your user as a random token (they don't host your email), or allowing people to pay using cash in an envelope, or non predatory/vendor-lock VPN prices.
Stay safe!