My minimalistic homeserver: Public Applications (4/N)
This guide works with any other service or application.
Here I will make accessible my local service umami (http://localhost:3000) publicly as umami.pipegalera.tech.
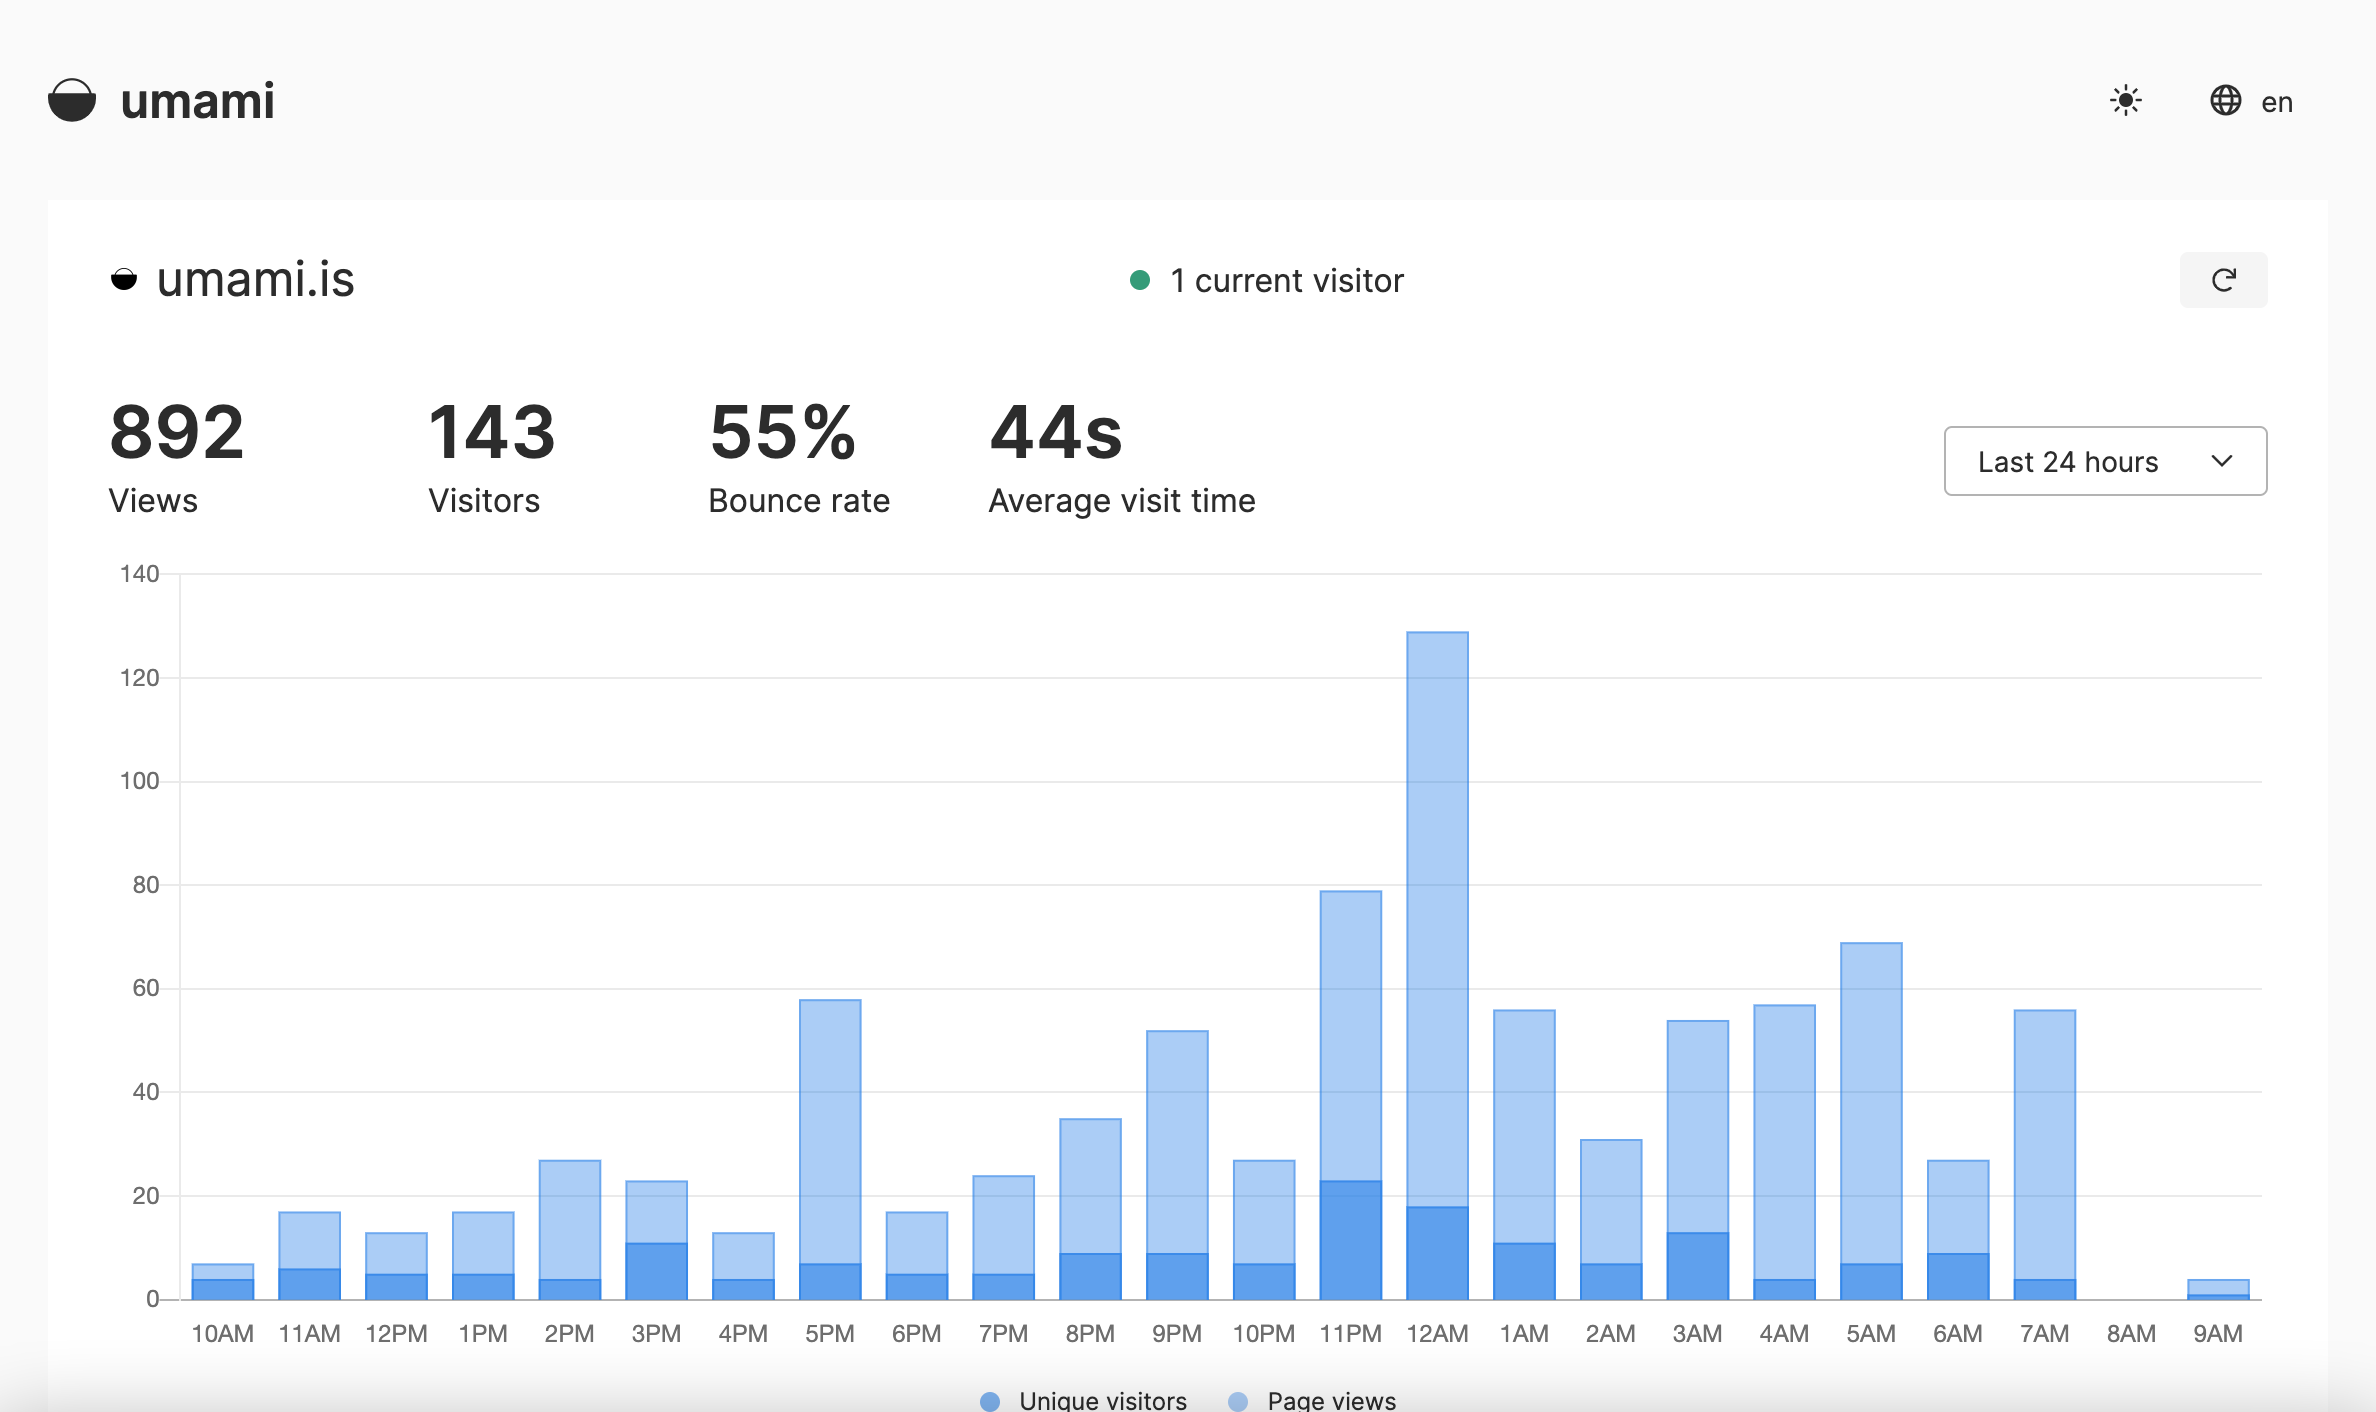
Umami is an analytics platform, similar to Google Analytics, that can be self-hosted.
I will user Cloudflare tunnels, instead of the usual combo of Nginx reverse proxy, getting a static IP and opening the ports of the home router.
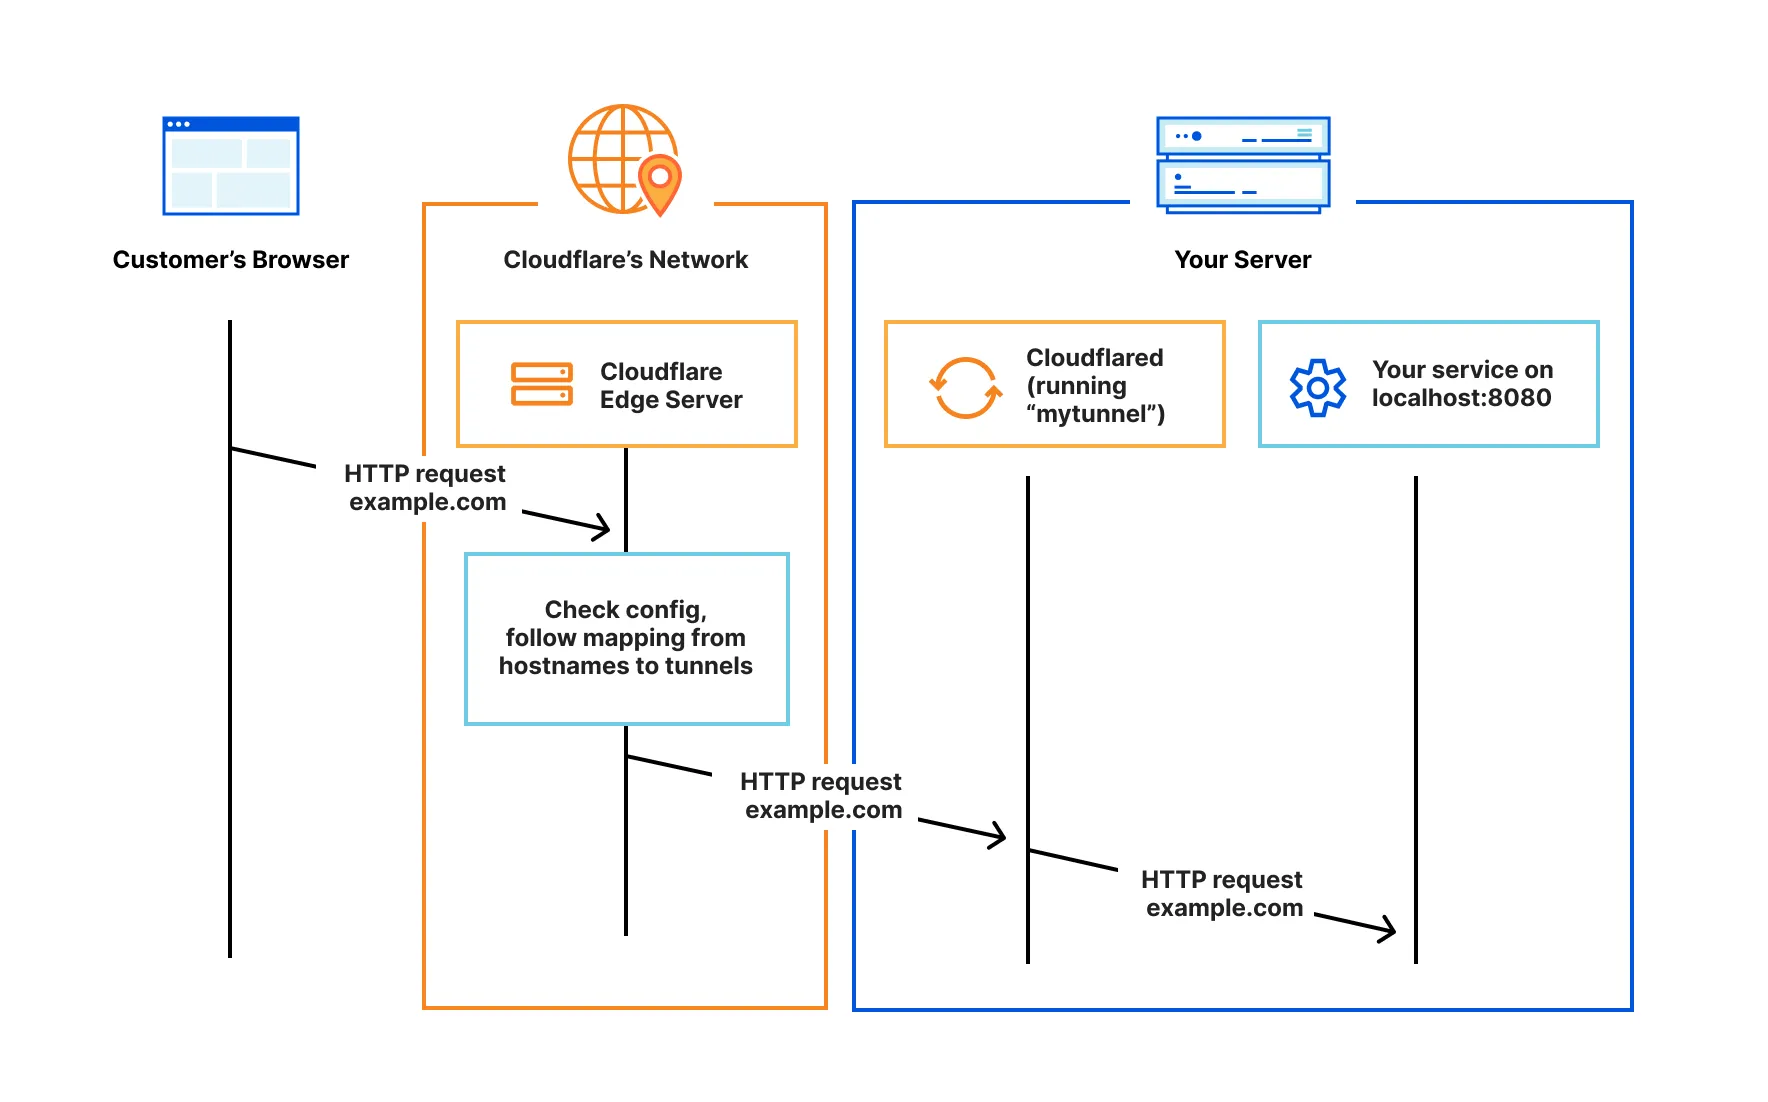
Cloudflare allow to create “tunnels” for an outbound connections so you can make public a website or service hosted in your homelab securely.
If you want to completely manage your network security, go for Nginx. I prefer Cloudflare to handle my network security and not get paranoid with DoS, DDoS or bruteforce IP attacks.
- A public domain (www.example.com).
- A Cloudflare account (free tier).
1. Share a service via Cloudfare
1.1. Connect your domain to Cloudflare
Go to www.cloudflare.com , log in and click + Add domain under Account Home.
Just follow the instructions, they are easy: write your domain, it will give you a DNS record (e.g. kim.ns.cloudflare.com ) and it will tell you to go to your domain provider (e.g. Namecheap) and put it there under Custom Domain.
1.2. Install cloudflared on your Linux homelab machine
Login via ssh into the server and run:
wget https://github.com/cloudflare/cloudflared/releases/latest/download/cloudflared-linux-amd64.deb
sudo dpkg -i cloudflared-linux-amd64.deb
rm cloudflared-linux-amd64.deb
Depending on your OS, the version (e.g. linux-arm64 instead of linux-amd64 ) might change. See the official docs
You also need to install cloudflared service:
sudo cloudflared service install
1.3. Authenticate with Cloudflare
cloudflared tunnel login
This opens a browser. Choose your domain and press “authenticate”.
The authentication will create a cert in ~/.cloudflared/cert.pem
1.4. Create a Cloudflare Tunnel
Create a tunnel, I called mine homelab-tunnel:
cloudflared tunnel create homelab-tunnel
The terminal should print something like:
Tunnel credentials written to /home/pipegalera/.cloudflared/107cf67df-624a-4eb2-bf35-70eec35d9eec.json. cloudflared chose this file based on where your origin certificate was found. Keep this file secret. To revoke these credentials, delete the tunnel.

Created tunnel homelab-tunnel with id 107cf67df-624a-4eb2-bf35-70eec35d9eec.json
You will need this id to map the service to the tunnel.
You can always find the ID again by running: cloudflared tunnel list
1.5. Cloudflare config.yml file
Create Cloudflare config.yml file:
sudo mkdir -p /etc/cloudflared
sudo nano /etc/cloudflared/config.yml
And insert:
tunnel: 107cf67df-624a-4eb2-bf35-70eec35d9eec
credentials-file: /home/pipegalera/.cloudflared/107cf67df-624a-4eb2-bf35-70eec35d9eec.json

ingress:
  - hostname: umami.pipegalera.tech
    service: http://localhost:3000
  - service: http_status:404
Please replace the tunnel id, home path, the port, subdomain with your own.
1.6. Configure tunnel routing
One the config.yml file is created, you can now route the service to the domain:
cloudflared tunnel route dns homelab-tunnel umami.pipegalera.tech
1.7. Start the Service
Re-execute the systemd, reload the config files, start cloudflared and enable it to make sure it activate the tunnel after the homelab reboots.
sudo systemctl daemon-reexec
sudo systemctl daemon-reload
sudo systemctl start cloudflared
sudo systemctl enable cloudflared
Check status:
sudo systemctl status cloudflared
If everything goes well, in 15 minutes to 1 hour the subdomain should be up publicly.

Stop it:
sudo systemctl stop cloudflaredDisable permanently:
sudo systemctl disable cloudflaredDelete the tunnel:
cloudflared tunnel delete homelab-tunnelRemove credentials:
sudo rm ~/.cloudflared/107cf67df-624a-4eb2-bf35-70eec35d9eec.jsonEdit config:
sudo nano /etc/cloudflared/config.yml
2. How to add more services to the tunnel
Let’s say that we have a second local service under http://localhost:4000 that we want to expose to my_new_service.pipegalera.tech.
- Enter the
config.ymlfile:sudo nano /etc/cloudflared/config.yml - Edit the
config.ymlfile with the new service:
tunnel: 107cf67df-624a-4eb2-bf35-70eec35d9eec
credentials-file: /home/pipegalera/.cloudflared/107cf67df-624a-4eb2-bf35-70eec35d9eec.json

ingress:
  - hostname: umami.pipegalera.tech
    service: http://localhost:3000
  - hostname: my_new_service.pipegalera.tech
    service: http://localhost:4000
  - service: http_status:404
You can replace "localhost" for your IP or Tailscale machine name.
- Route the new service:
cloudflared tunnel route dns homelab-tunnel my_new_service.pipegalera.tech
- Reset cloudflared:
sudo systemctl restart cloudflared